Enabling Firebase Service (Push Notification)
Enable Firebase Service on Android
You will need google-services.json for the Firebase Cloud Messaging (FCM) configuration on Android. Please follow the steps to set up notification on Android.
Steps
-
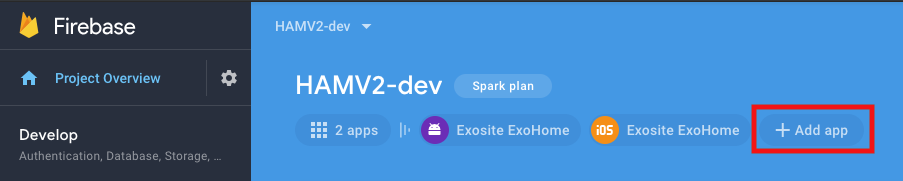
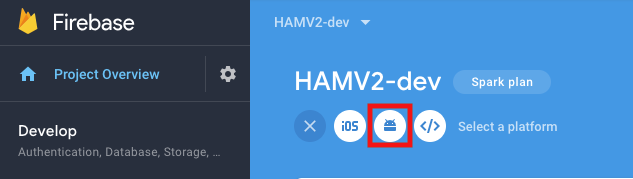
Create an Android application on FCM console.
-
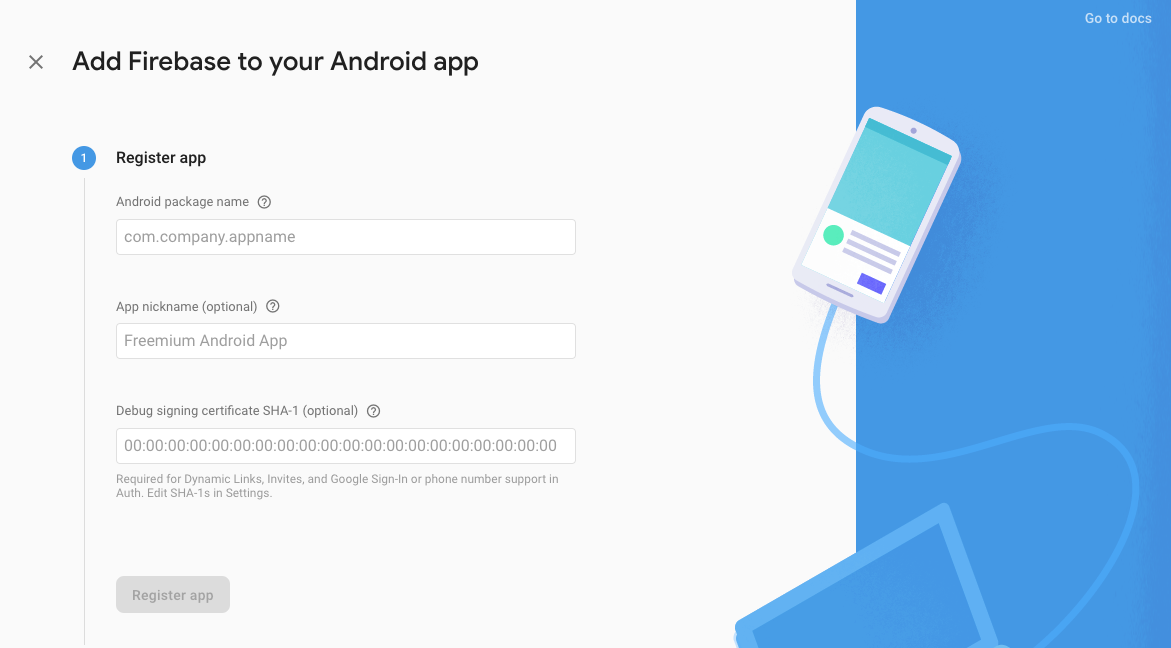
Fill in the information of your Android app.
-
Download
google-services.json.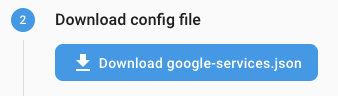
-
Click "Next" to skip the steps for native Android app below.
- Move google-service.json to Android app module root directory
- Add Firebase SDK
-
Stay at the 4th step on the FCM Setting page.
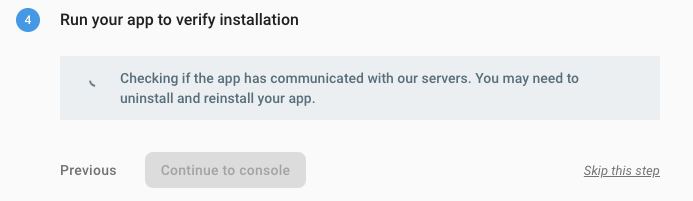
Note
This step is to verify whether your application registered FCM from the client app or not. You will need to build an app to verify it.
-
Copy
google-services.jsonfile to the root folder.Note
- If you can't pass the installation verification, please see the readme of the plugin we use to find out for more information.
- After your App is built, please check for the installation verification status shown on FCM setting page.
Enable Firebase Service on iOS
You will need .p8 APNs key for the FCM authorization and GoogleService-Info.plist for the FCM configuration to set up notification on iOS.
Generate .p8 File of APNs Key
Please follow the "Create the authentication key" section of the FCM instruction to generate a .p8 key file containing your APNs Auth Key.
Set Up APNs Key on FCM Console
You need to add an Apple Push Notifications service (APNs) key in Apple Developer in advance. Go to Apple Developer → Certificates, Identifiers & Profiles → Keys, and add a key as showed below:
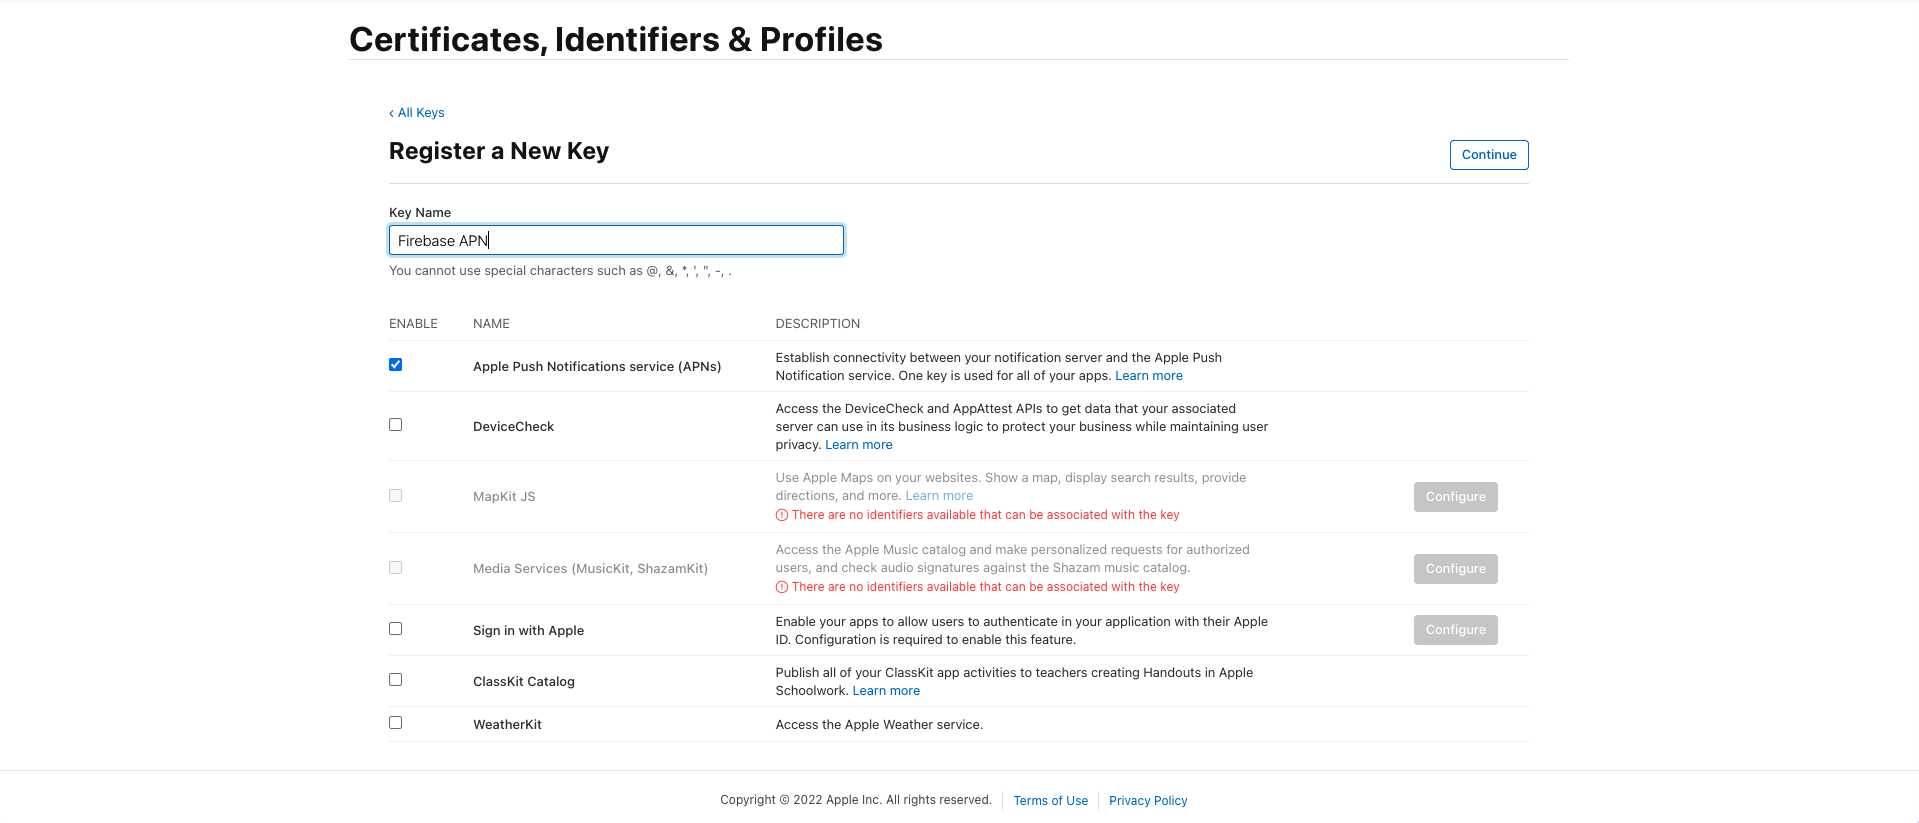
After you get the APNs' key ID, please also have your Apple team ID at hand and follow the steps to set up APNs key on the FCM console.
Steps
-
Go to FCM project settings.
-
Go to
Cloud Messagingtab.
-
Go to
iOS app configurationsection and clickUploadunder the APNs Authorization Key section.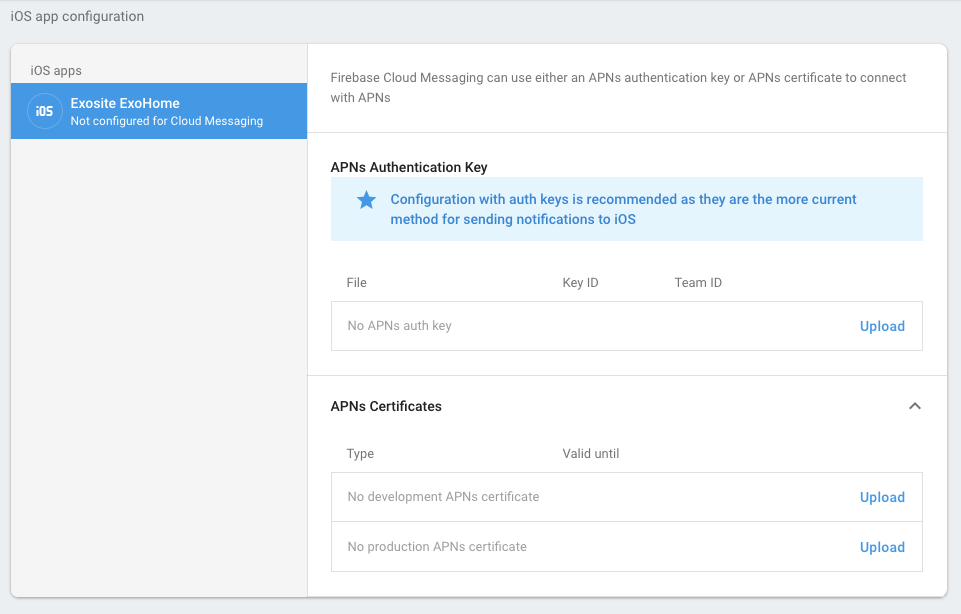
-
Choose the .p8 file and input APNs key ID, Apple team ID. Click
Uploadto complete the setting.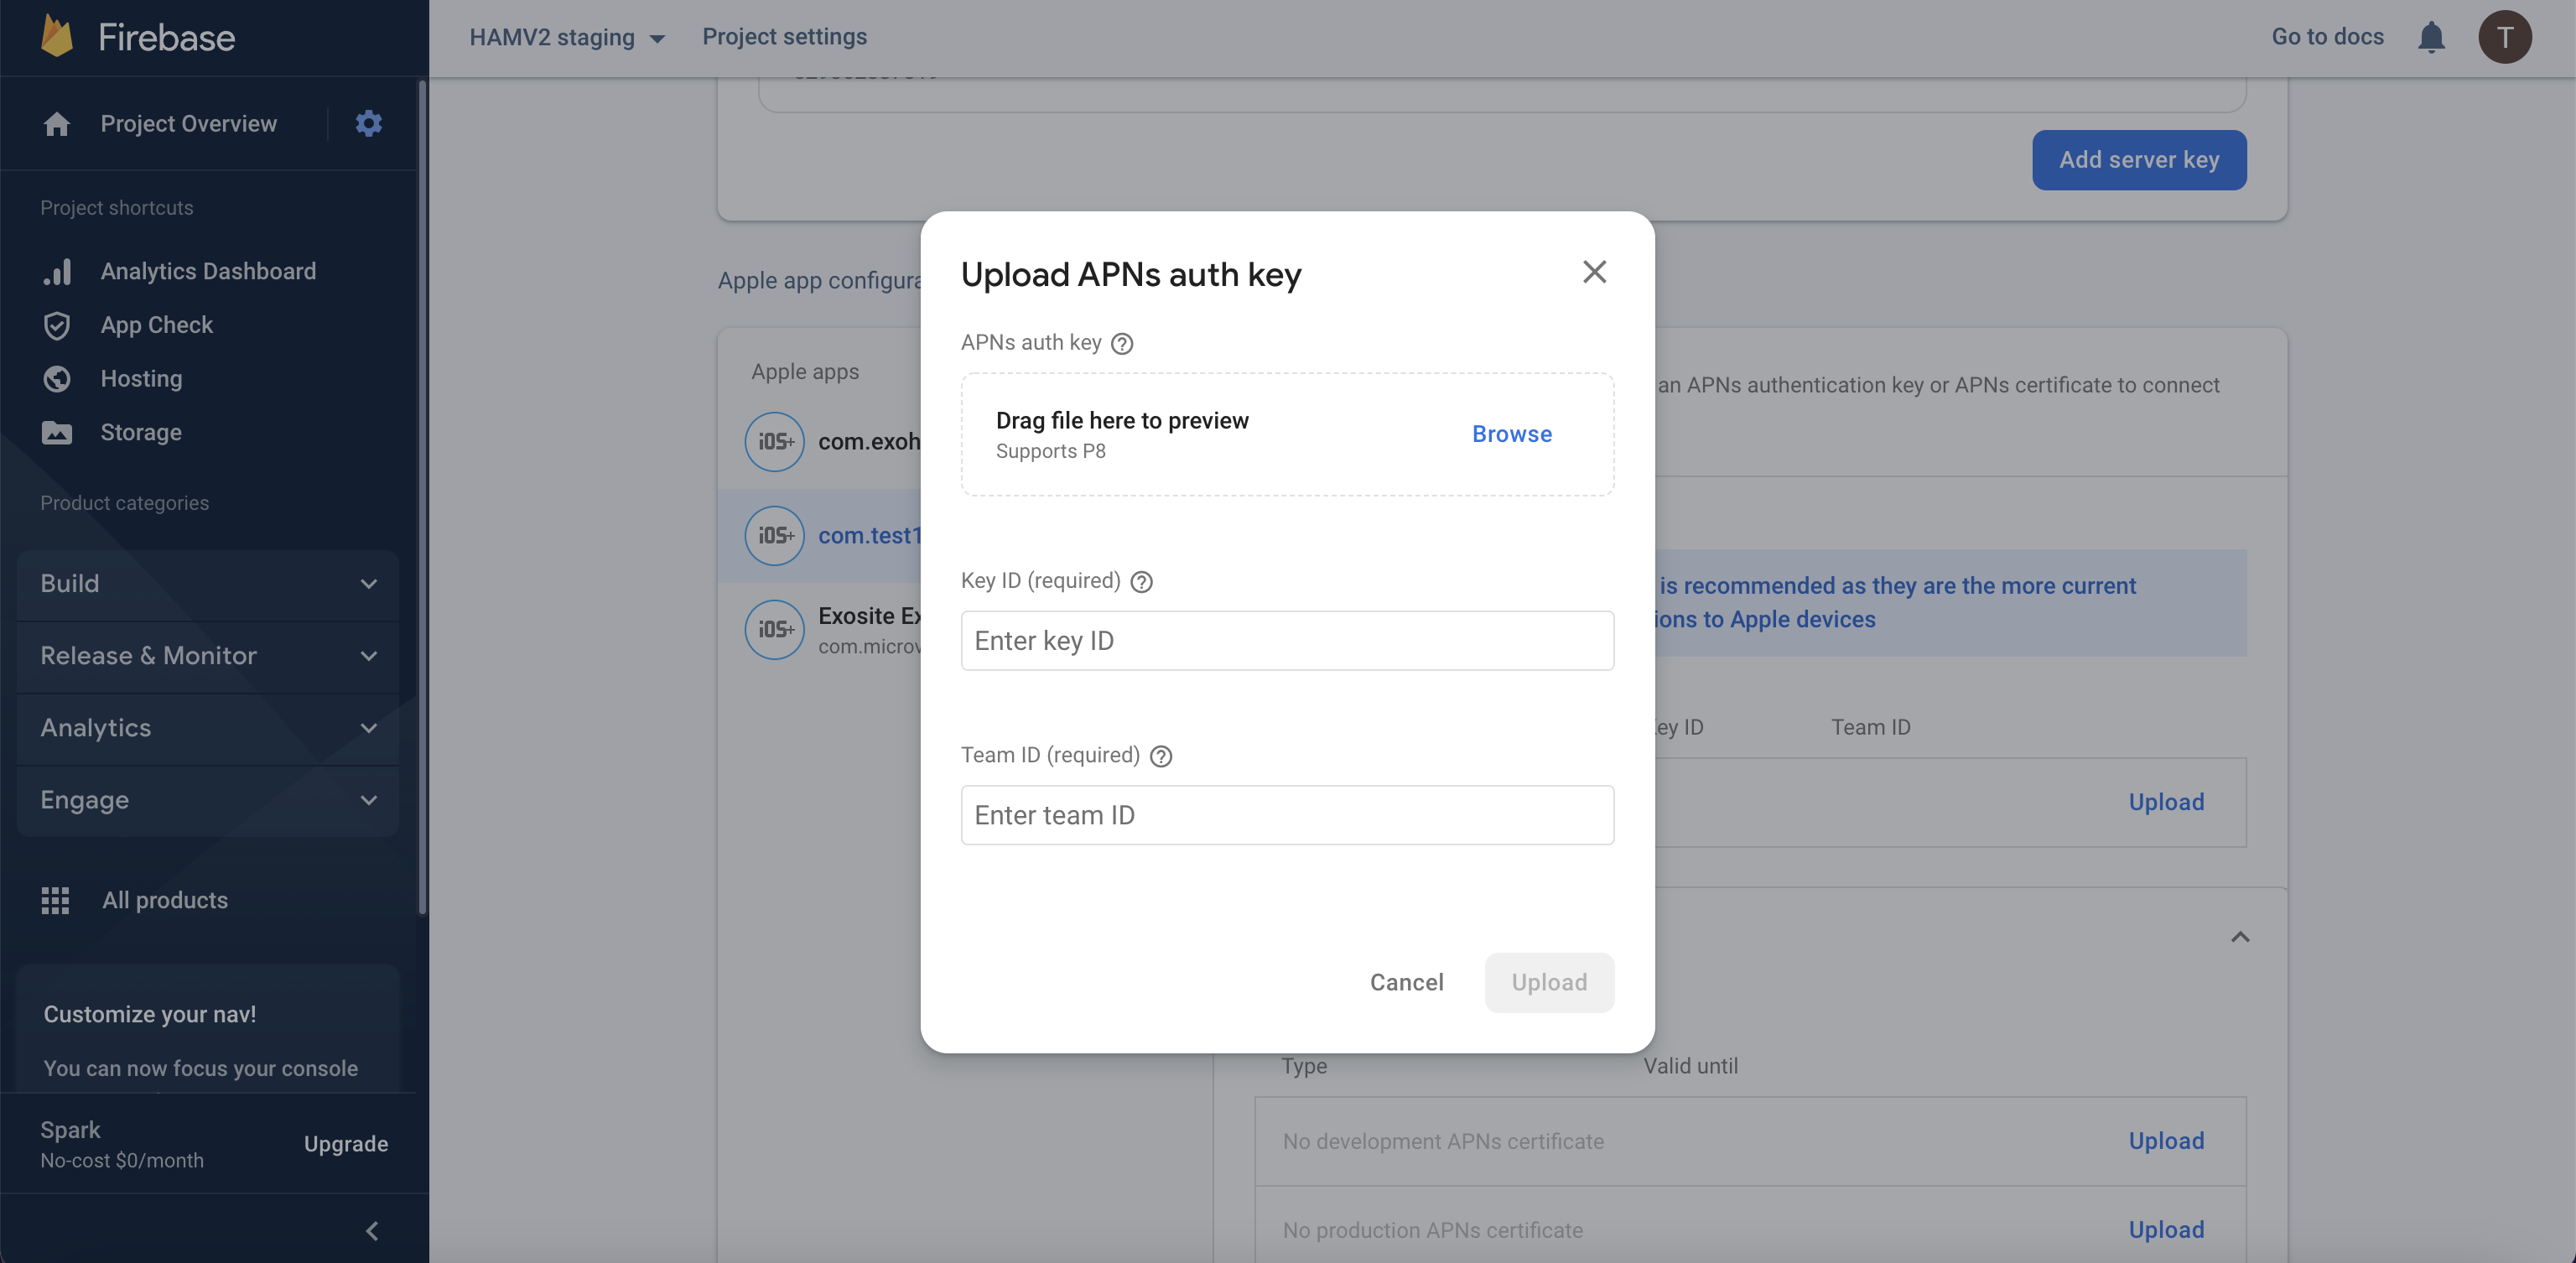
Set Up Notification on iOS
Follow these steps to prepare GoogleService-Info.plist for the FCM configuration on iOS.
Steps
-
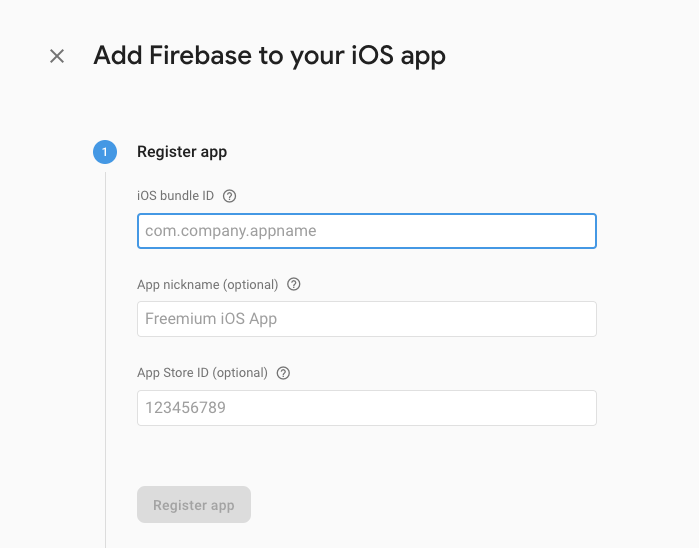
Create an iOS application on FCM console.

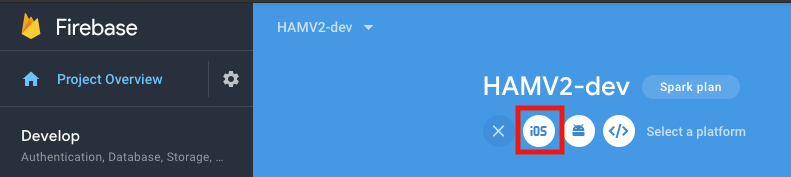
-
Fill in the information of your iOS app.
-
Download
GoogleService-Info.plist.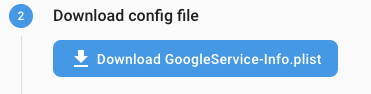
-
Click "Next" to skip the steps for native iOS app below.
- Move
GoogleService-Info.plistto Xcode project.
- Move
-
Install CocoaPods and run
pod setupto initialize it. You can skip the steps in the setting page. -
Click "Next" to skip the steps for native iOS app below.
- Add initialization code
-
Stay at the 5th step on the FCM Setting page.
Note
This step is to verify whether your application registered FCM from the client app or not. You will need to build an app to verify it.
-
Copy
GoogleService-Info.plistto the root folder.Note
- If you can't pass the installation verification, please see the readme of the plugin we use to find out for more information.
- After your App is built, please check for the installation verification status shown on FCM setting page.
Generate Firebase Private Key
You need to provide the Firebase private key to Exosite team to complete the push notification setting.
Steps
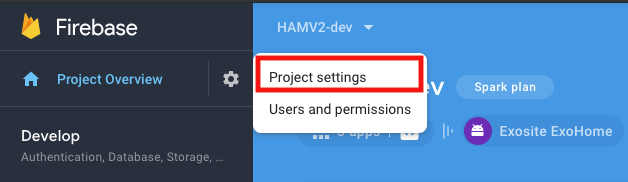
- Click the settings (cogwheel) icon at the top of the Firebase Console.
-
Choose
Project Settings.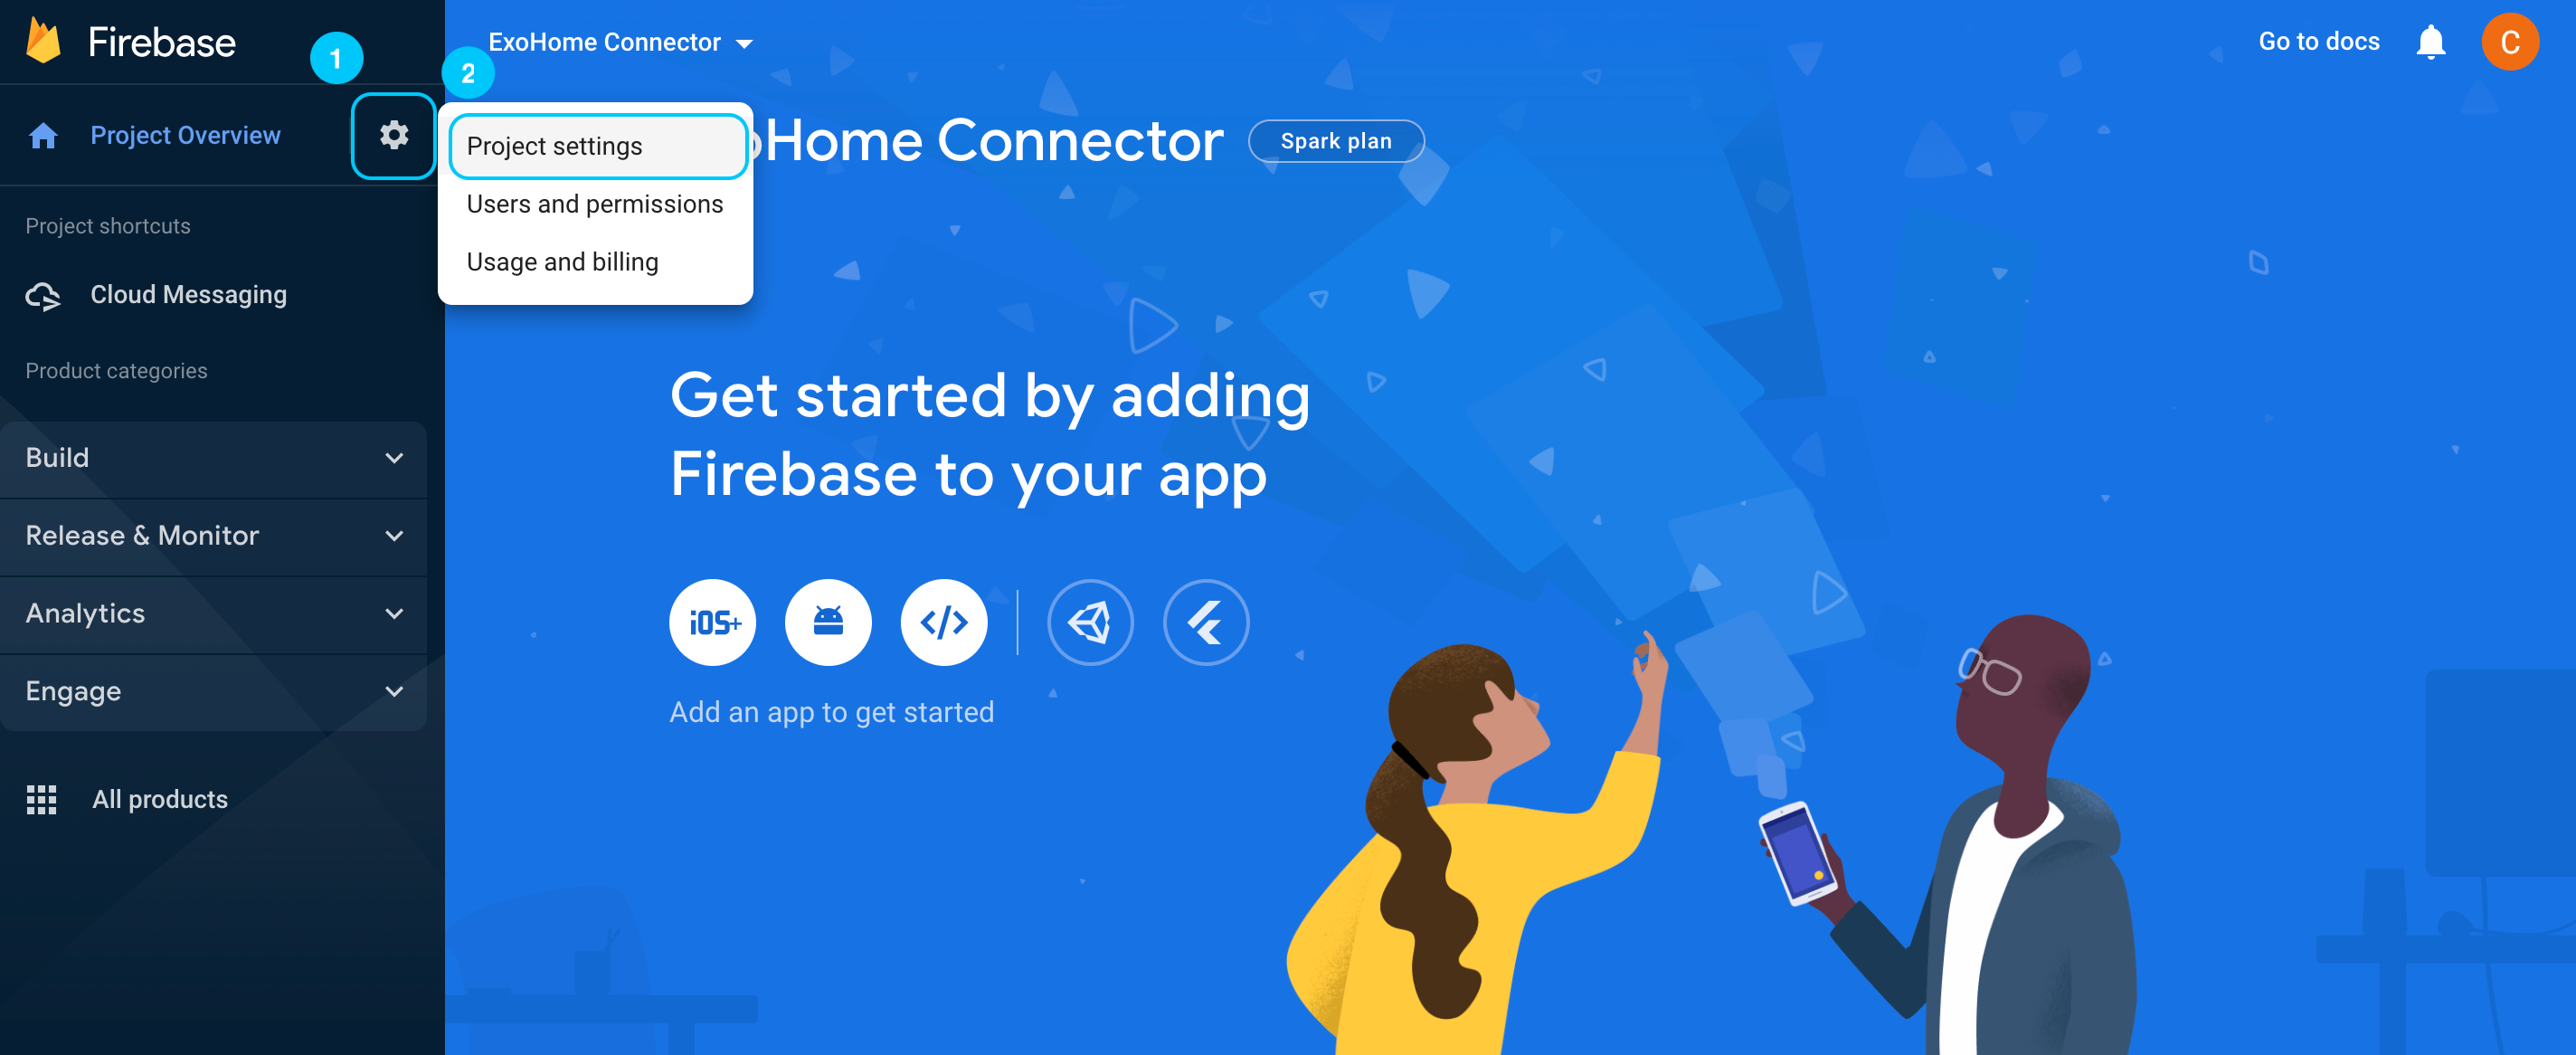
-
Click on the
Cloud Messagingtab and enableFirebase Cloud Messaging API (V1). - Go to
Service accounttab and clickgenerate new private keyto download a json file.
- Please provide the json file to Exosite for the final setting.
Update Your Project
Steps
- Open
package.jsonunder project root. -
Add
"@awesome-cordova-plugins/firebase-x": "^6.8.0"under "dependencies" part.
-
Add
"cordova-plugin-firebasex": "17.0.0"under "devDependencies" part.
-
Add the following under "cordova" —> "plugins"
    "cordova-plugin-firebasex": {
        "IOS_STRIP_DEBUG": "true",
        "FIREBASE_ANALYTICS_COLLECTION_ENABLED": "true",
        "FIREBASE_PERFORMANCE_COLLECTION_ENABLED": "true",
        "FIREBASE_CRASHLYTICS_COLLECTION_ENABLED": "true",
        "FIREBASE_FCM_AUTOINIT_ENABLED": "true"
      }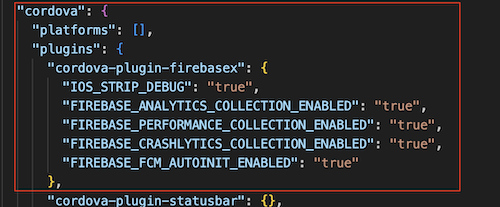
Have more questions? Submit a request