Publishing Your App
Now you have the Android and iOS Apps ready. It's time to publish them to the stores. Please make sure you have both platforms' developer accounts.
Submit Your App to Google Play Store
Steps
-
Go to Google Play Developer Console. If you start from scratch, please register for a Google Play Developer account to create and set up your APP.
Note
If this is your first release for this app, follow the instructions to configure Play App Signing.
-
Go to your APP and click
productionon the left navigation.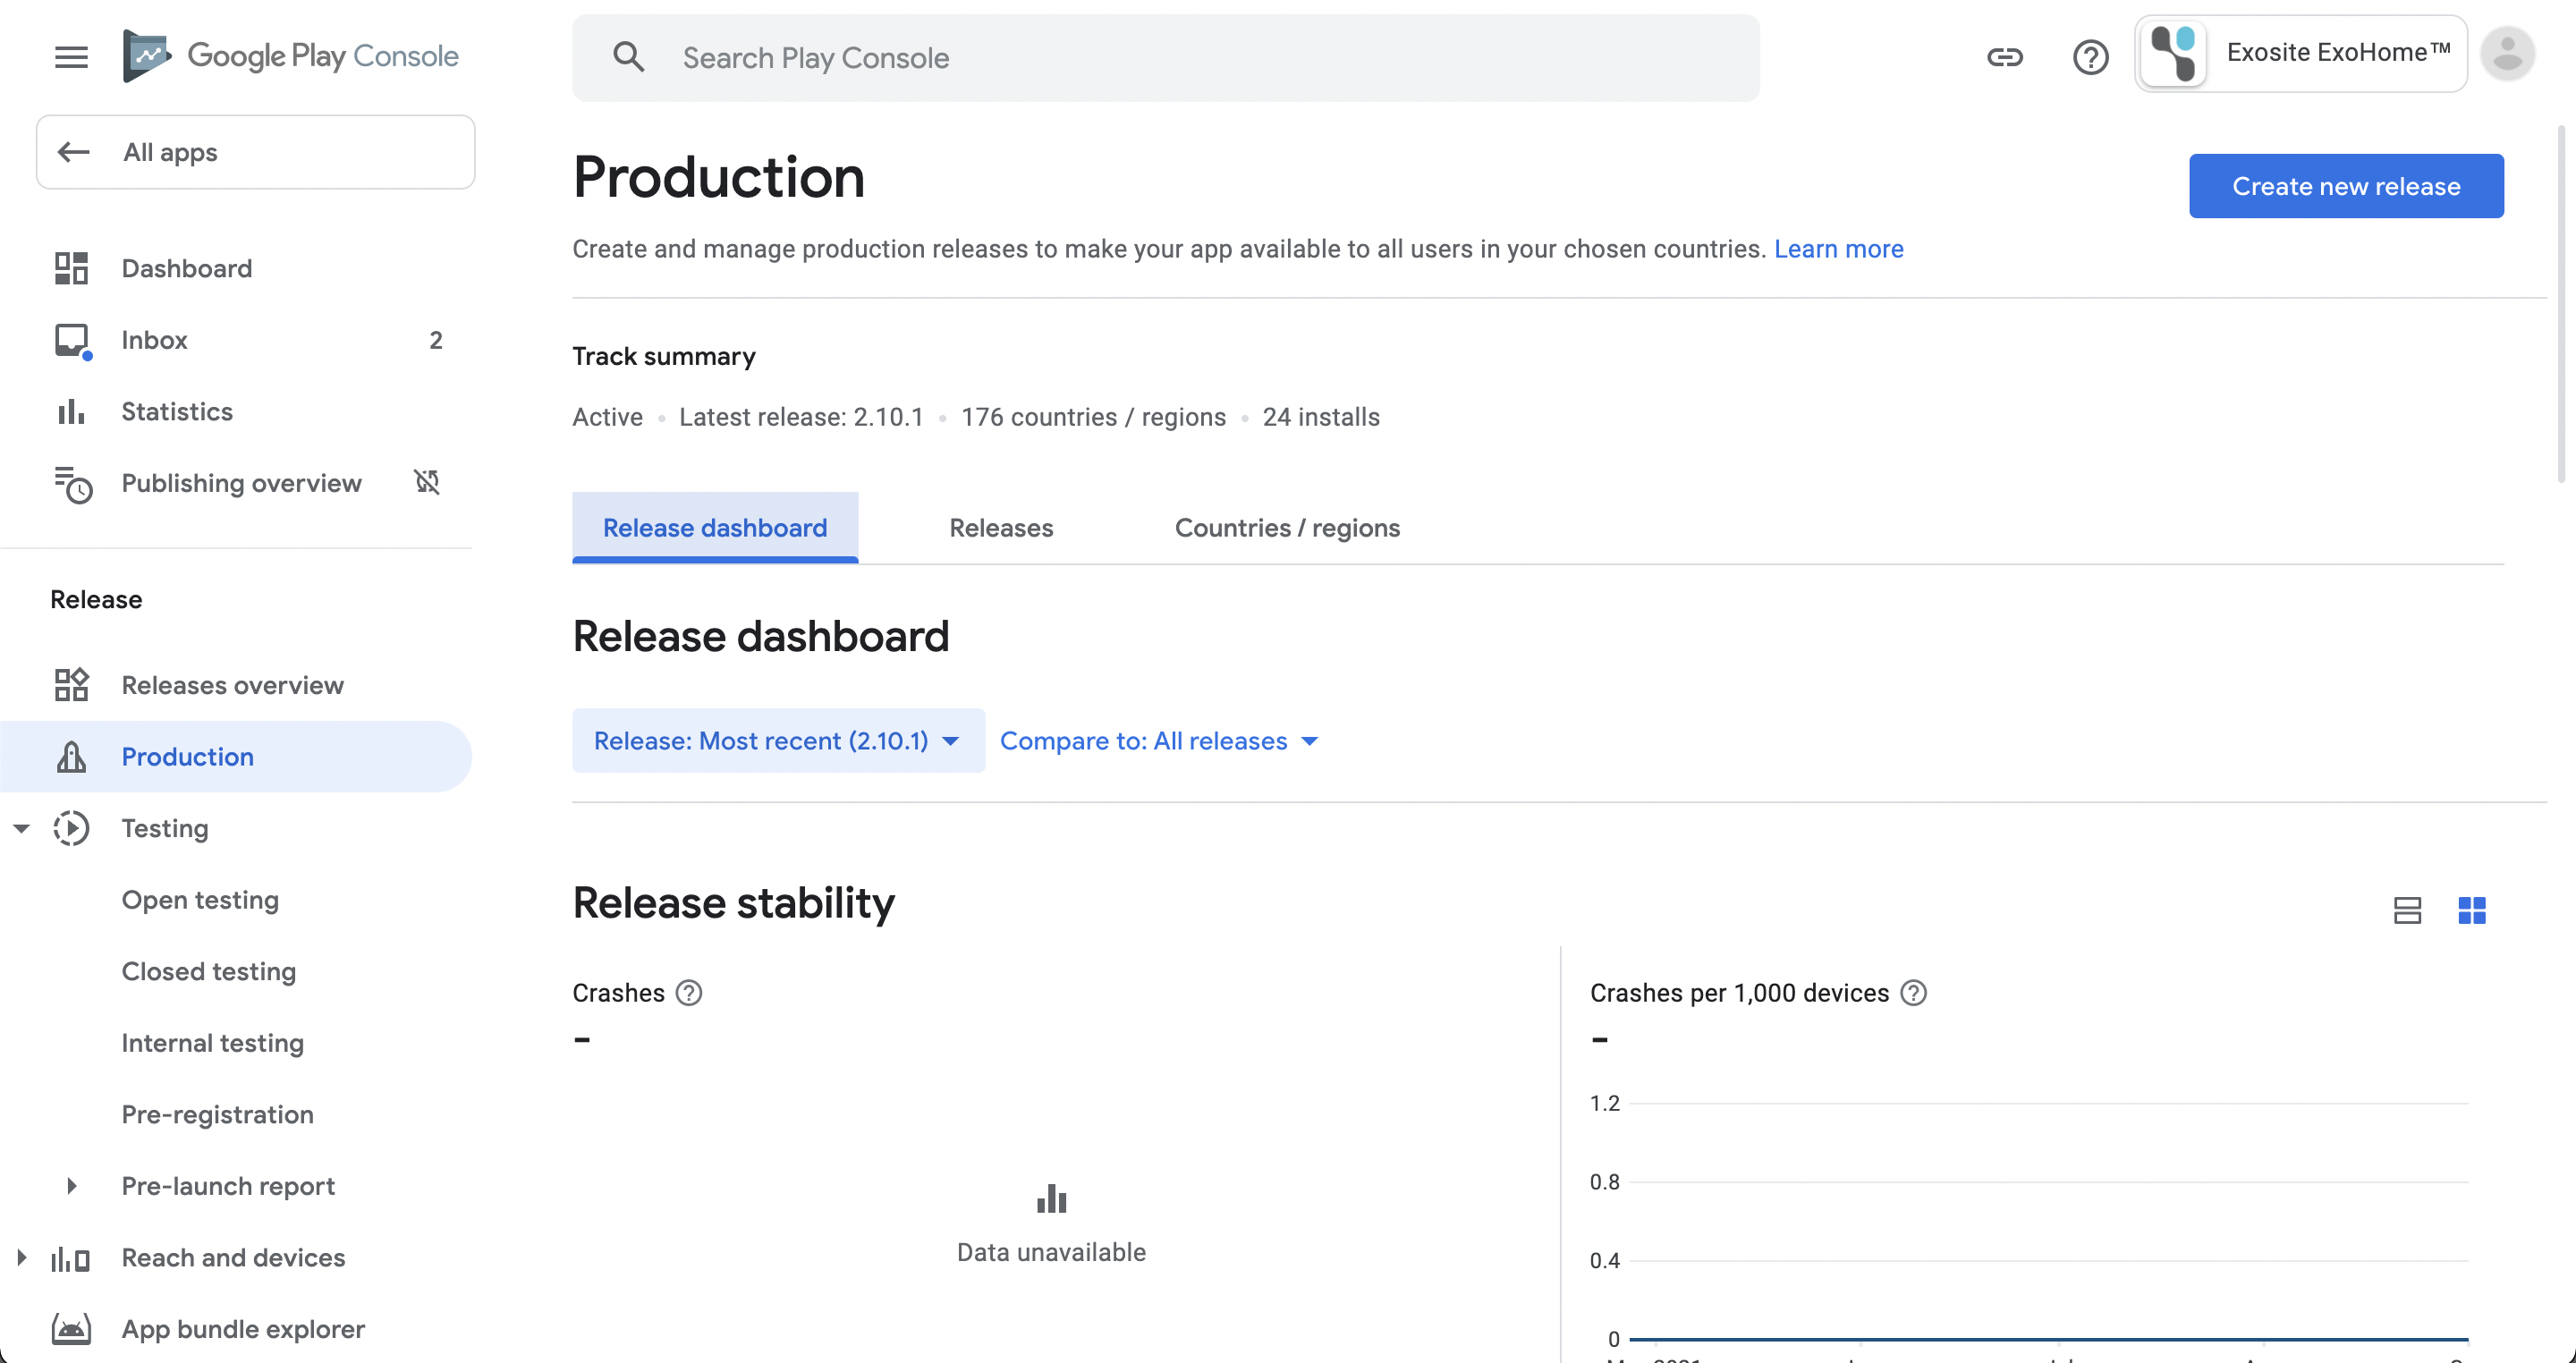
-
Click
Edit releasebutton on the upper right.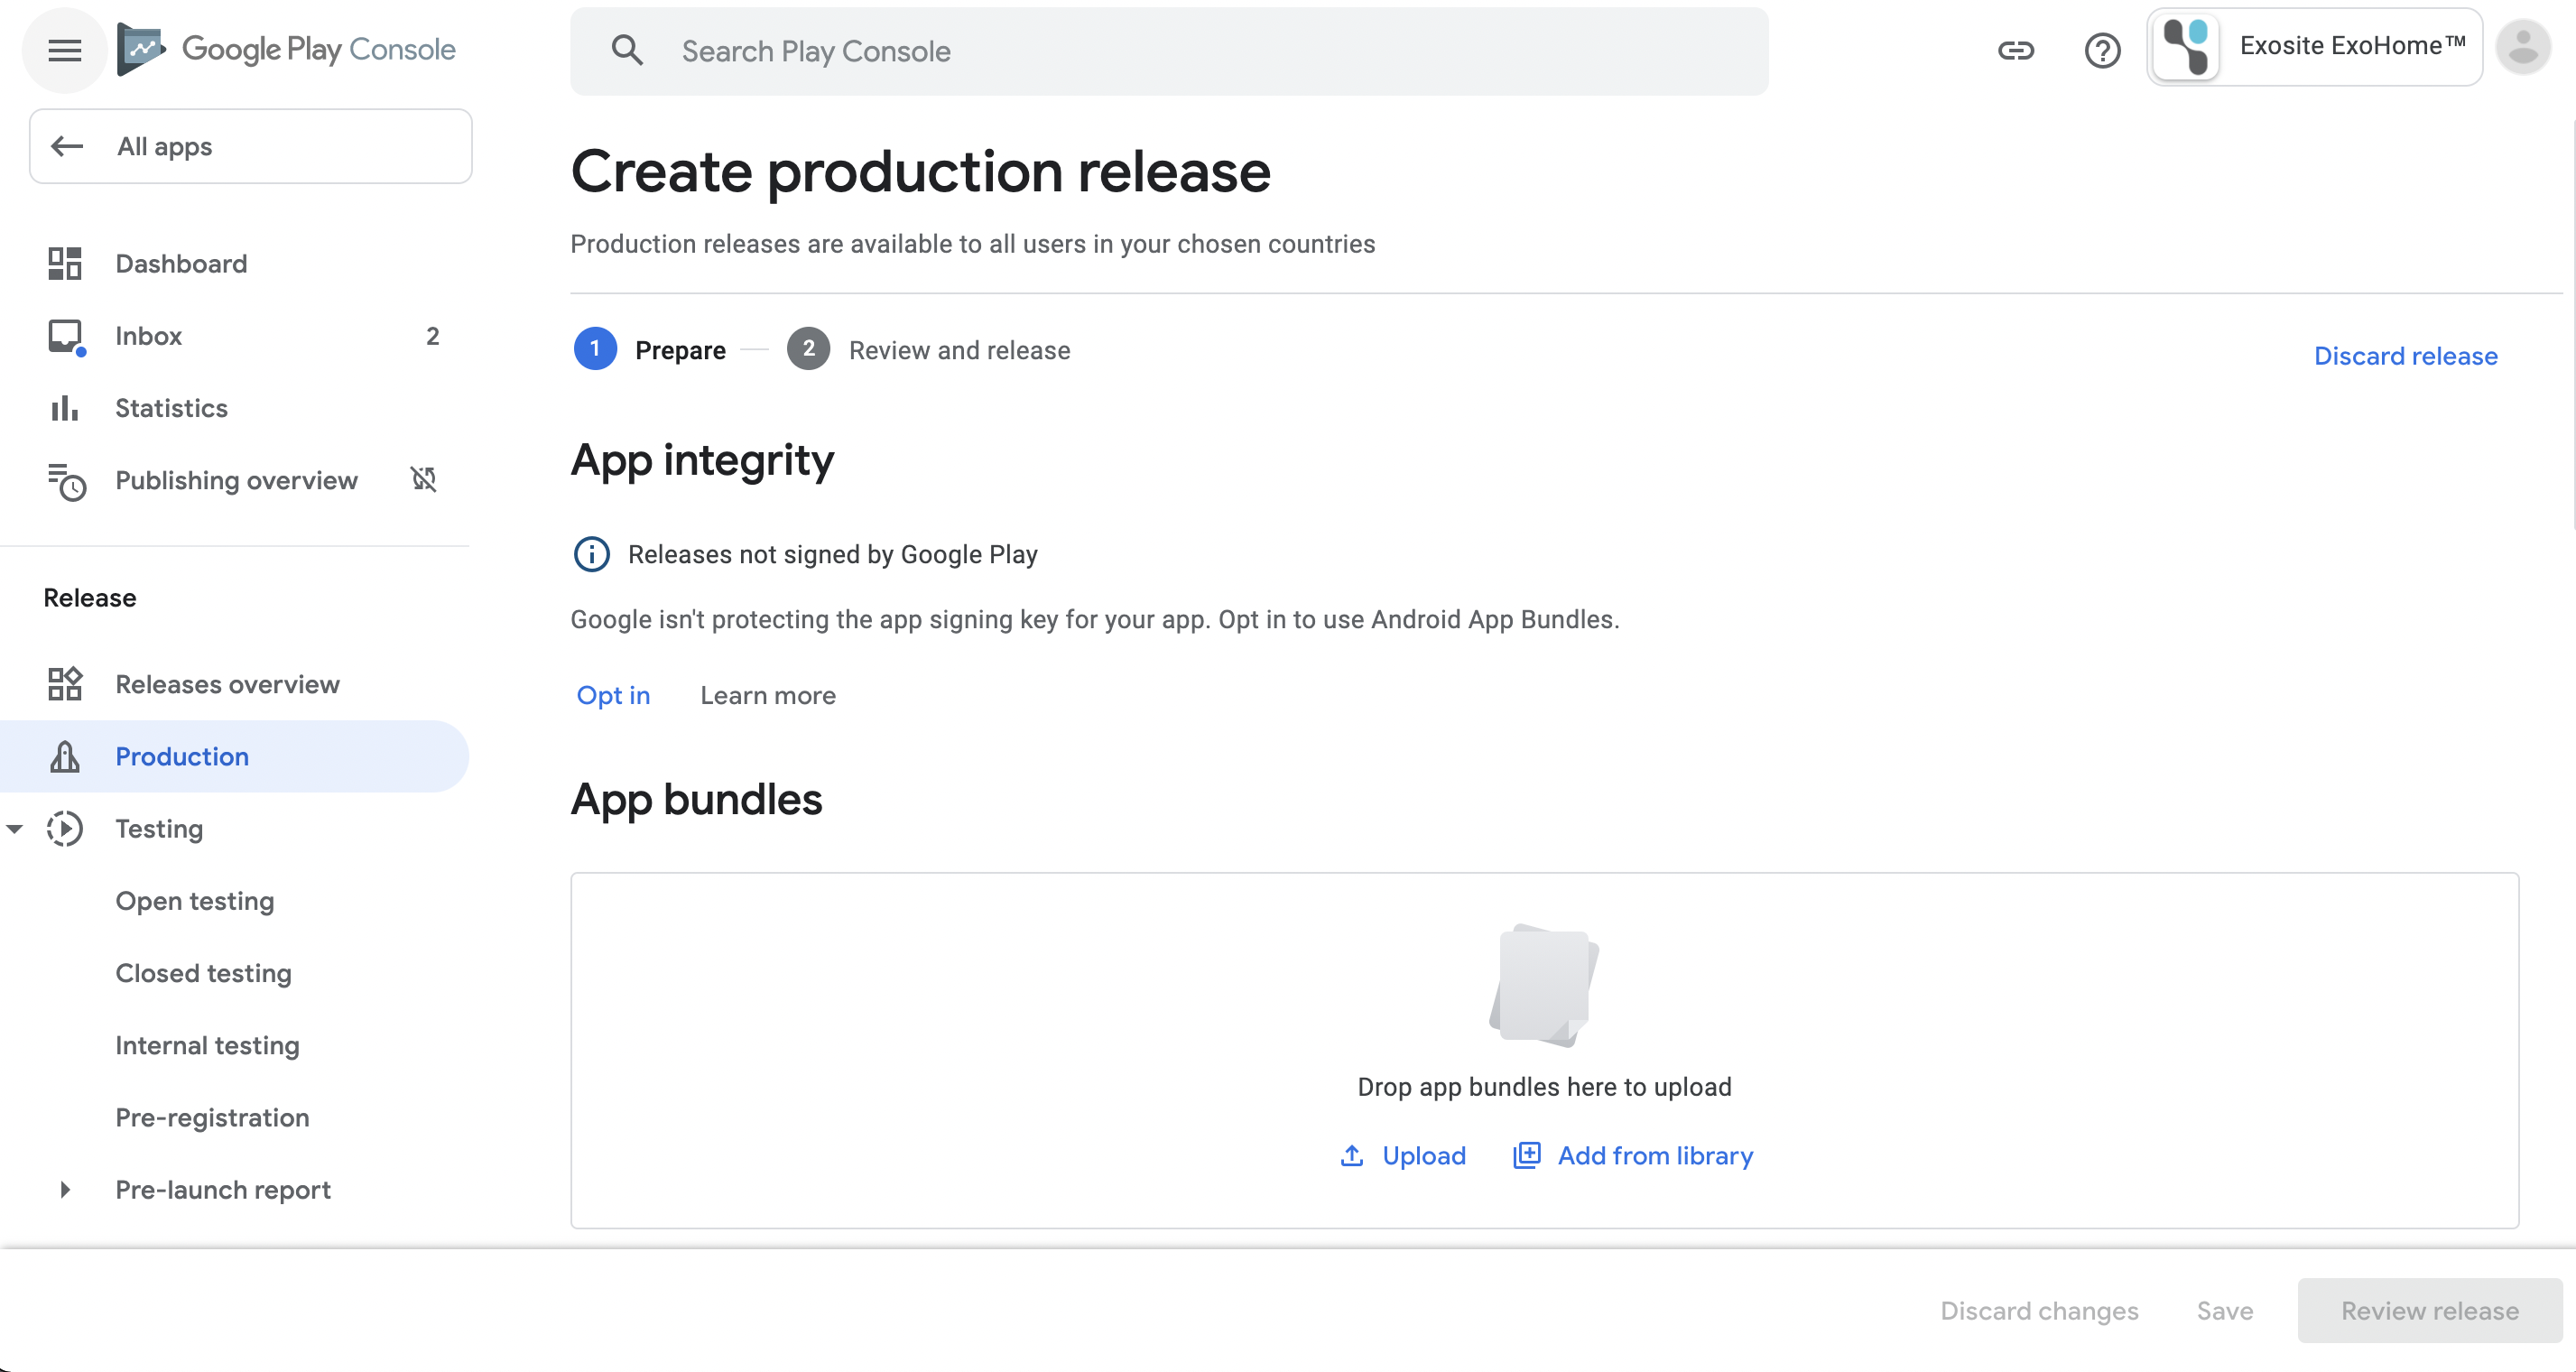
-
Upload the App Bundle file (it should be
.aabfile format) and fill in release details. -
Click
Save, and thenReview releaseto check all the release information is correct. -
Submit for Google Play to review. Normally it takes around 5 business days. If there is no problem of your submission, your APP will be published.
Submit App to the App Store
Release app to the App Store
Steps
-
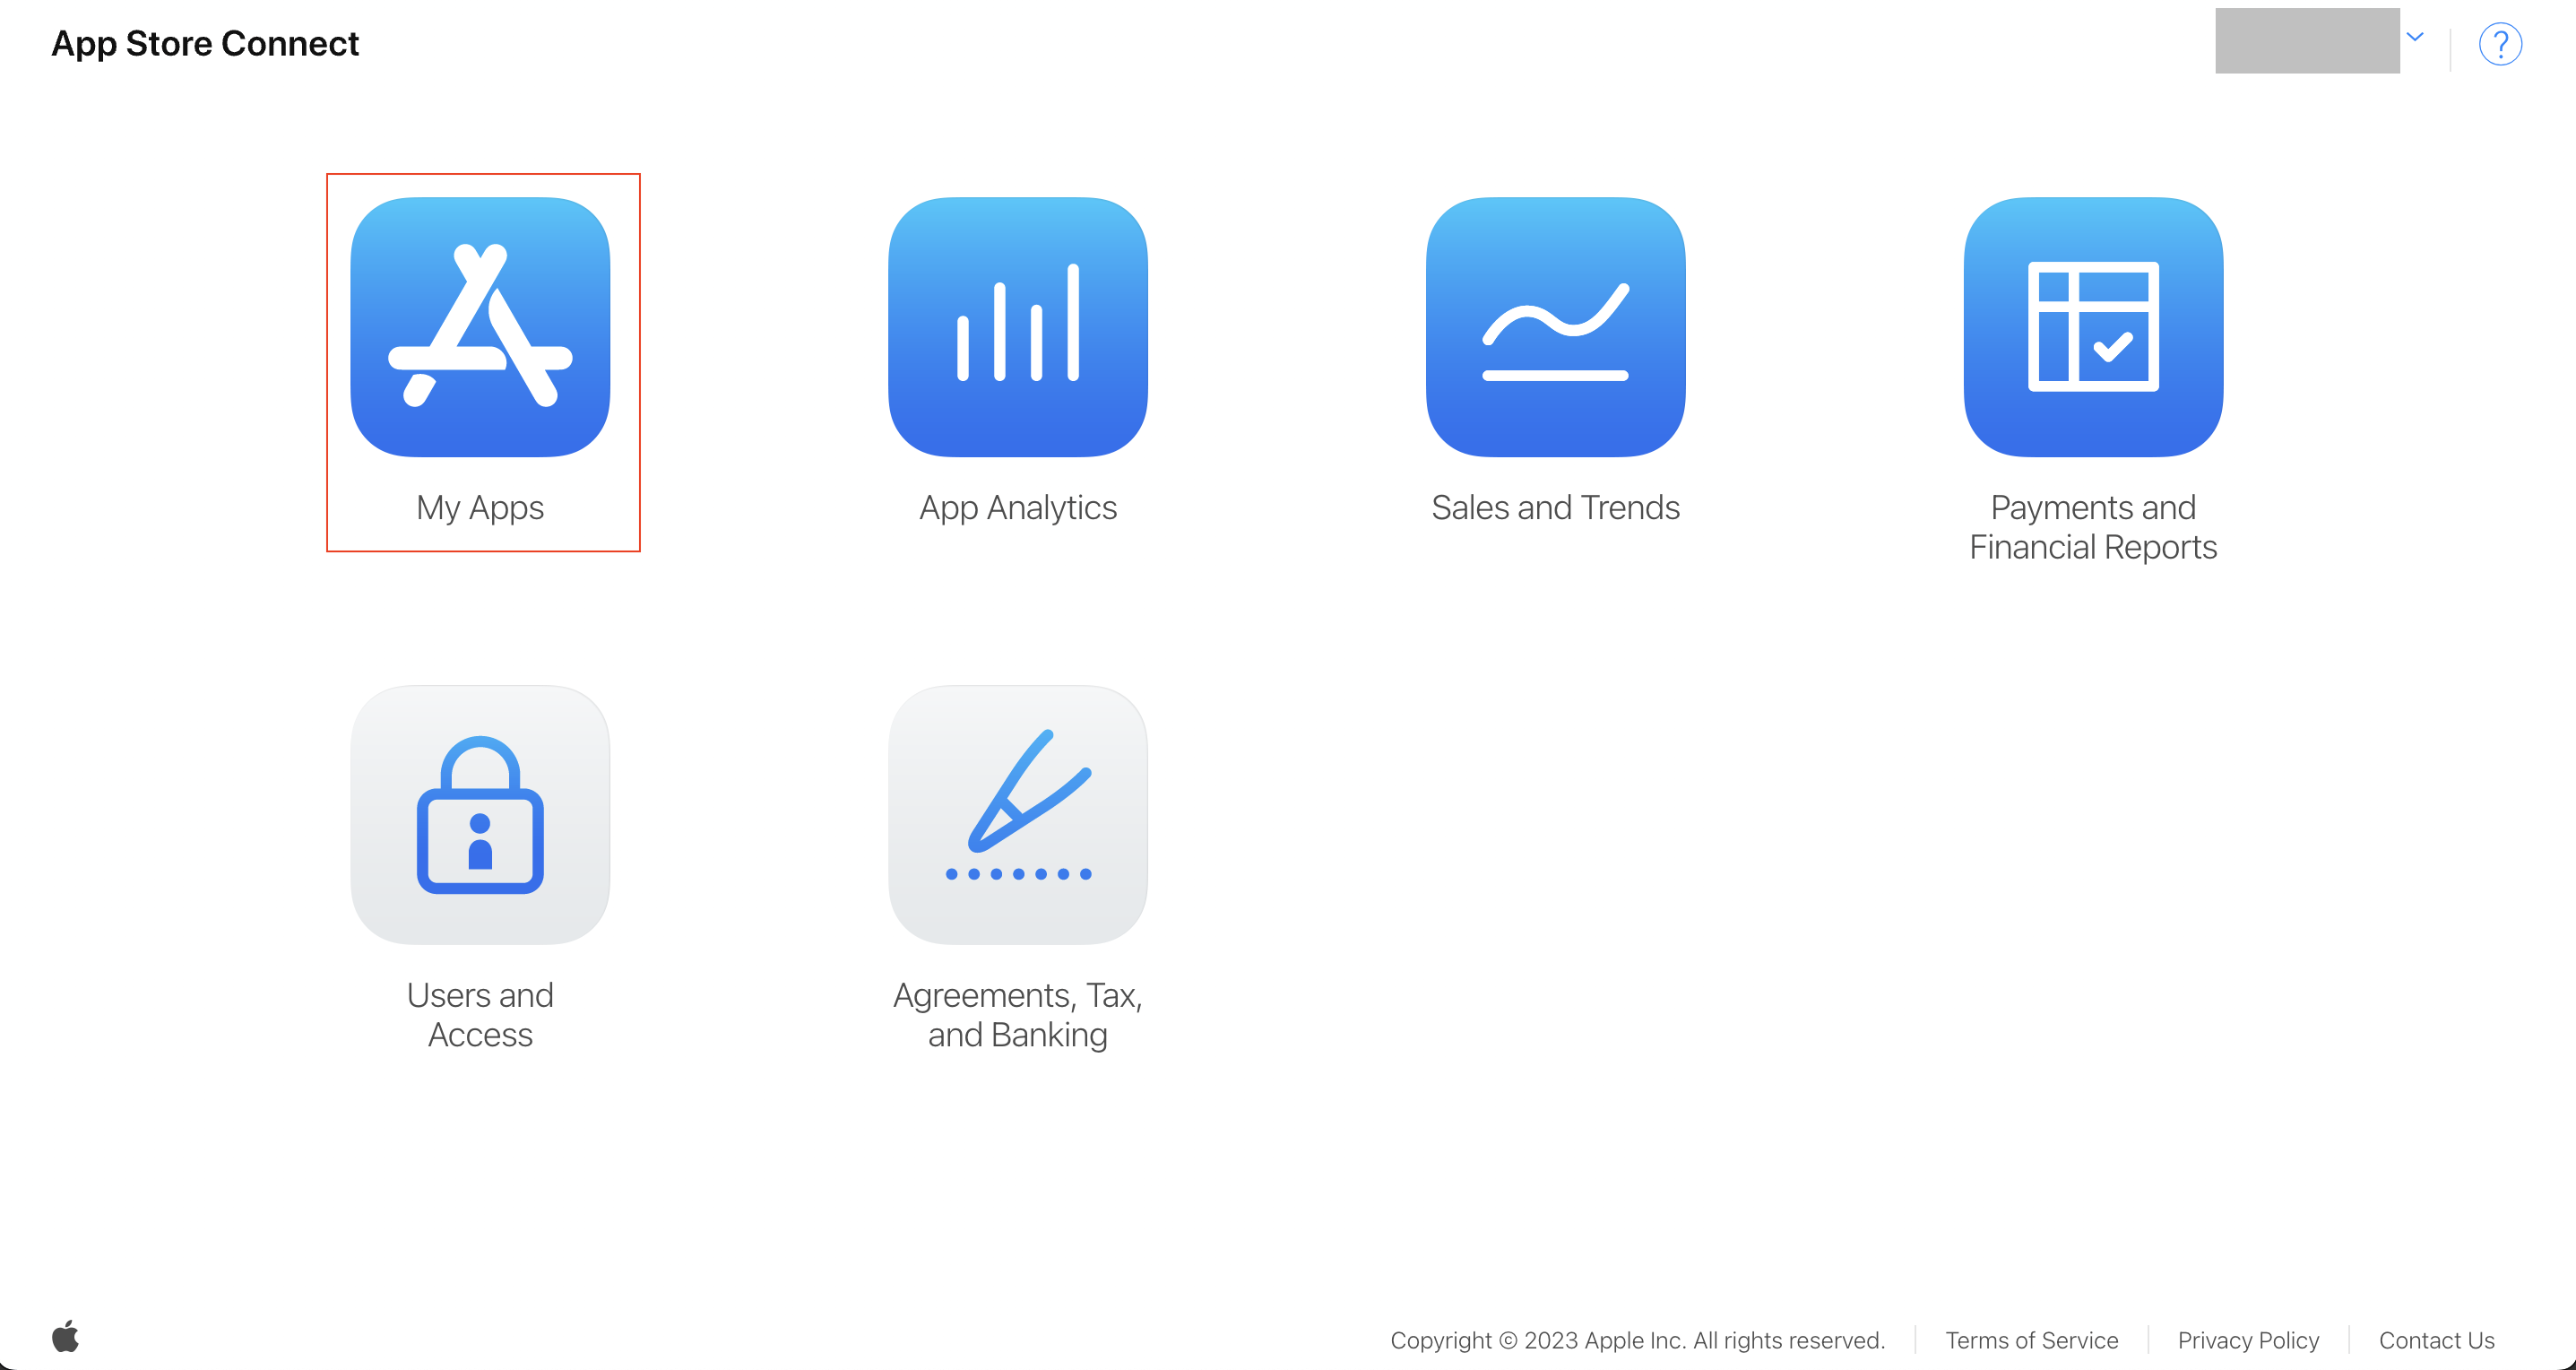
Go to App Store Connect and log in.
-
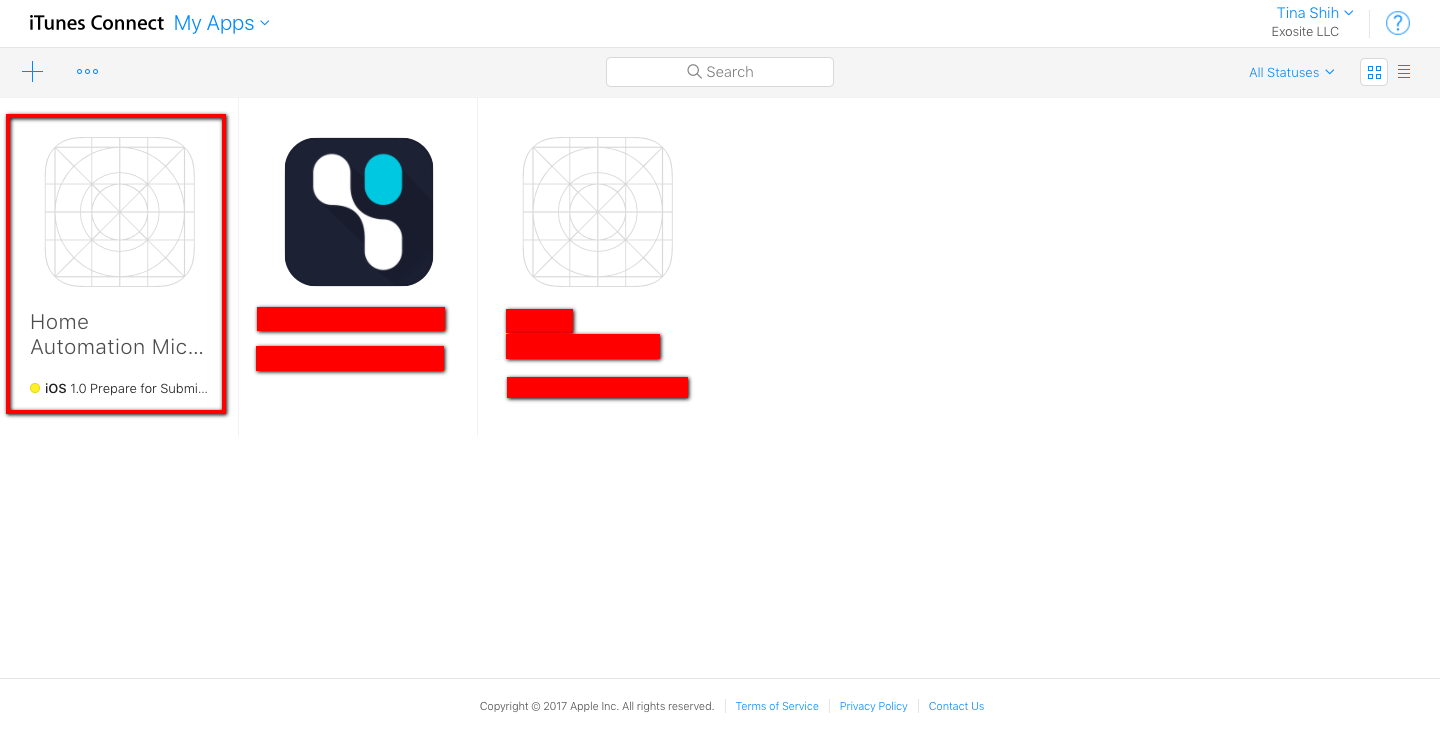
Click "My Apps"
-
Click the plus button and select "New App"
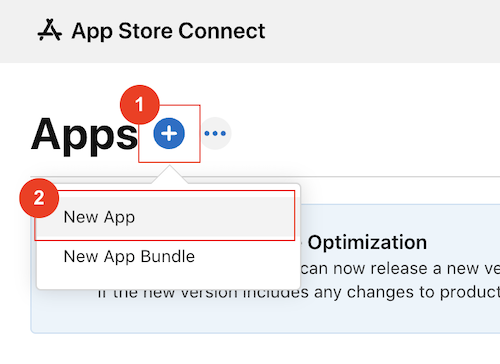
-
Fill the fields in the popup and click "Create" button
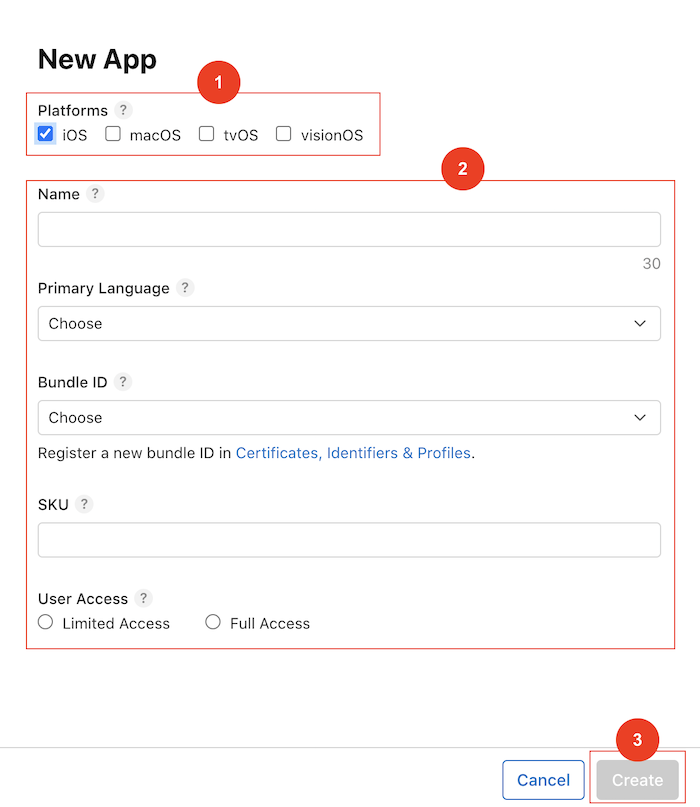
Note
If you don't have a bundle ID that can be selected, go here to create one
-
Click the app that you just created
-
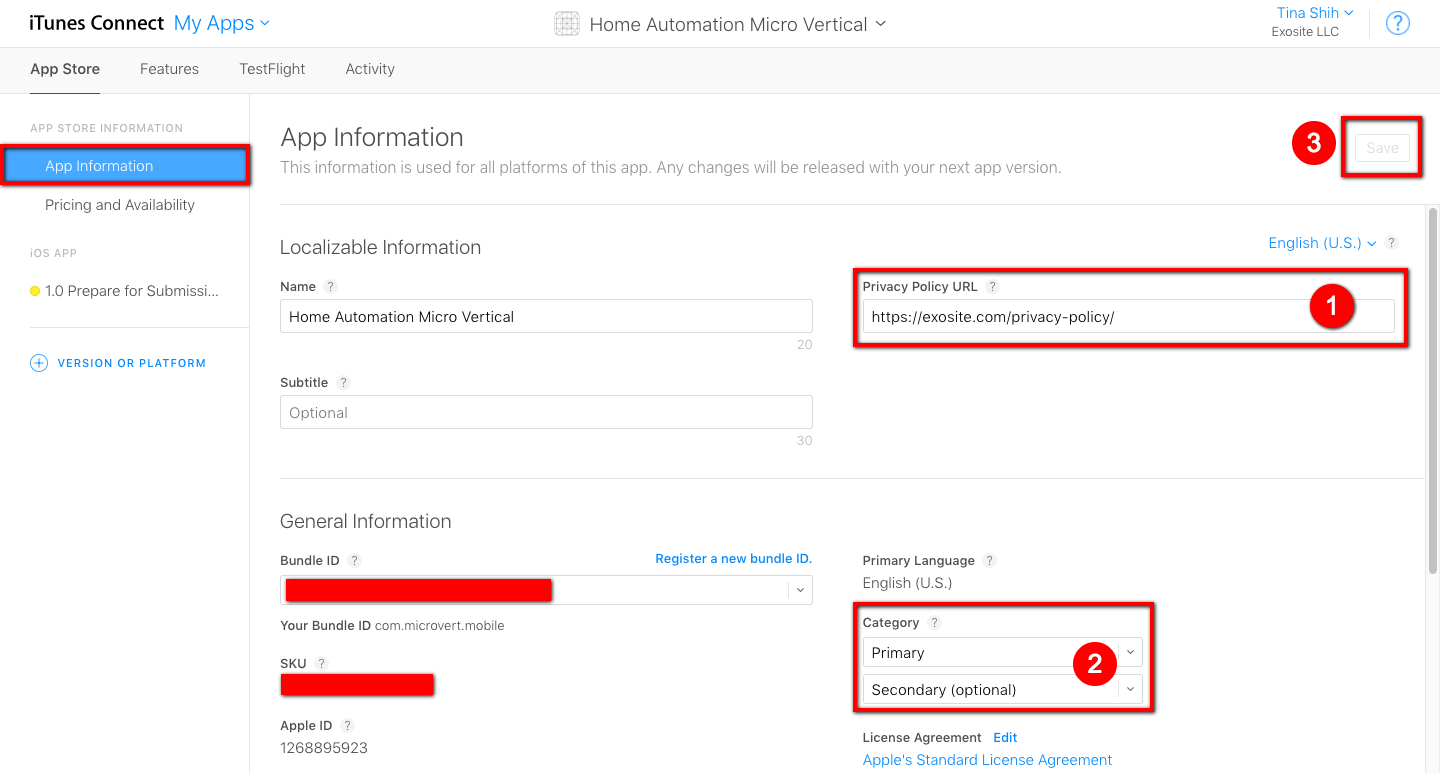
Go to the "App Information" page and fill the privacy URL and select the category of your app
-
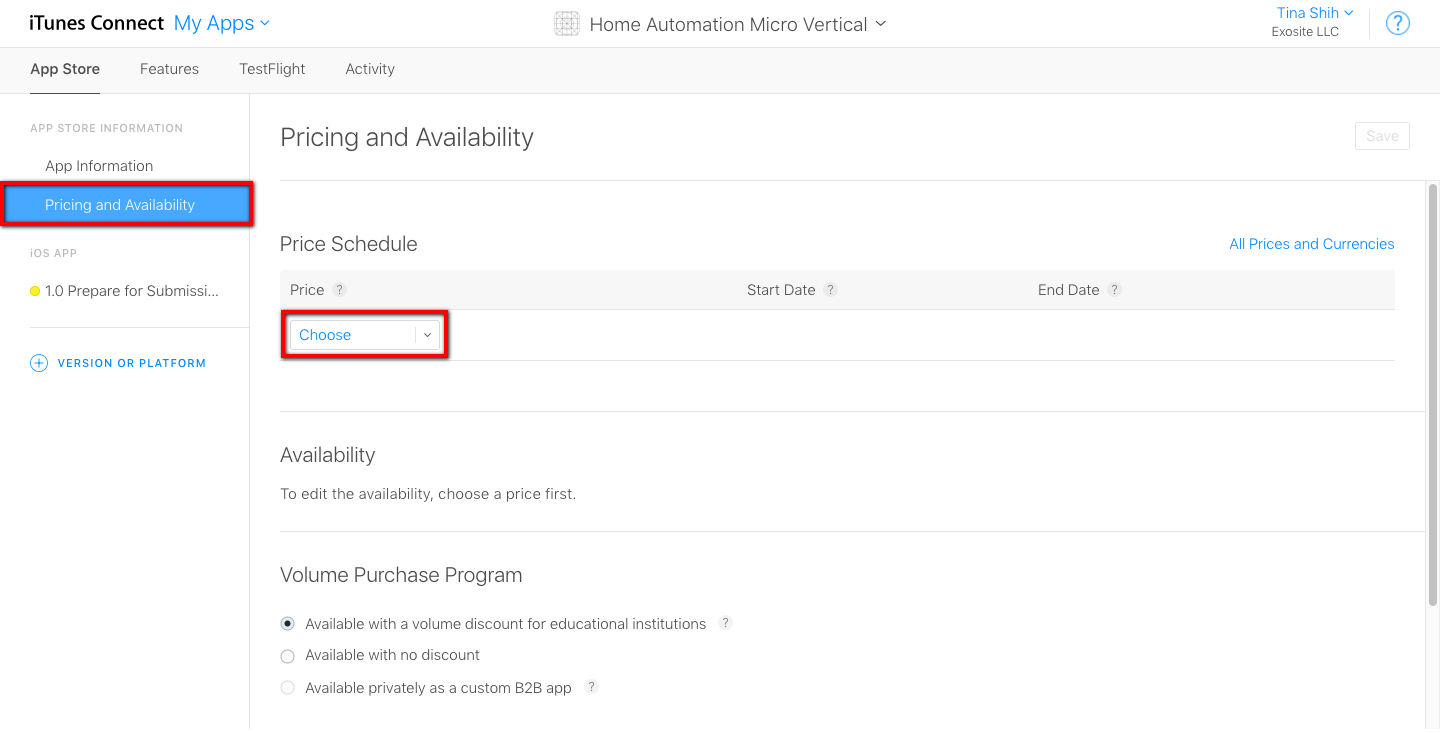
Go to "Pricing and Availability " page, select the price of your app and select an option under the "Volume Purchase Program"
-
Go to "Prepare for Submission " page and fill out the field in the page
Note
The images of 5.5-inch Display (iPhone) and 12.9-inch Display (iPad) are REQUIRED

-
Please follow the section Upload build to your app to upload your build for review
-
Click button "Submit for Review" in the page "Prepare for Submission " on the top right

Have more questions? Submit a request