Build iOS App
Before we start the build App process, please make sure you have the following settings ready:
- Build environment setup (Node, Ionic, Cocoapods, Xcode)
- App info setup
- App icon and splash
- (Optional) Language setting
- (Optional) Firebase GoogleService-info.plist file for Push notification and Google login setting
- (Optional) Facebook login setting
- (Optional) Apple login in setting
- (Optional) Google account login setting
Note
It is highly recommended that you build Android and iOS App in seperate project folders.
Preparing an iOS build
Steps
-
Open your terminal and cd to the project root.
cd hamv_mobile -
(Skip this step if you have applied your settings in
env.shfile) Create abuild.jsonfile in your IDE and put it under the root folder.{ "ios":{ "debug":{ "developmentTeam": "<your team ID>" }, "release":{ "developmentTeam": "<your team ID>" } } } -
(Skip this step if you have applied your settings in
env.shfile) Run the following commands one by one.npm i app-engine-3.0.0.tgznpm iionic cordova platform add ios@7.0.0ionic cordova prepare iosUpdate Cocoapods Package
If you see error message when running
ionic cordova platform add ios@7.0.0, please update the Cocoapods package by usingpod repo updateorpod install --repo-update.Once updated, remove the previous build files and start from scratch again.[!] CocoaPods could not find compatible versions for pod "FBSDKCoreKit": In Podfile: FBSDKCoreKit (= 11.1.0) None of your spec sources contain a spec satisfying the dependency: `FBSDKCoreKit (= 11.1.0)`. You have either: * out-of-date source repos which you can update with `pod repo update` or with `pod install --repo-update`. -
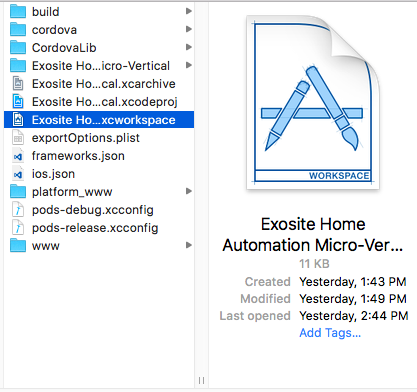
Open Xcode and select the file name extensions ".xcworkspace" (/platforms > ios > yourApp.xcworkspace)
Note
If this is your first time to open Xcode, please agree to the development license by running this command in the Terminal:
sudo xcodebuild -license accept -
Open Xcode Settings
(1) Login a developer's Apple ID and select your account and click "Manage Certificates" button.
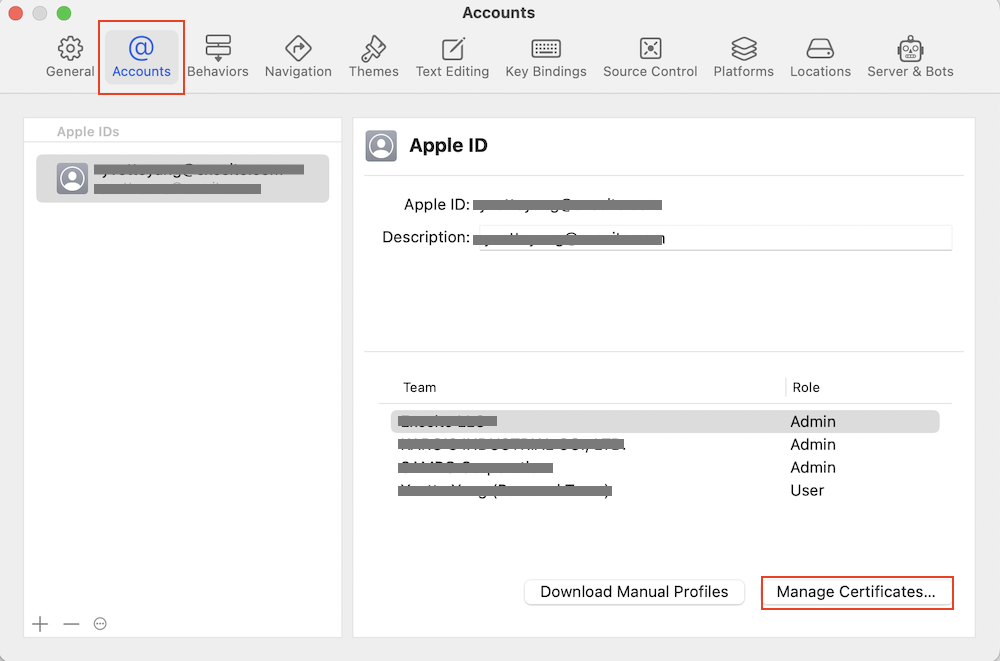
(2) Create a new certificate if you don't have one.
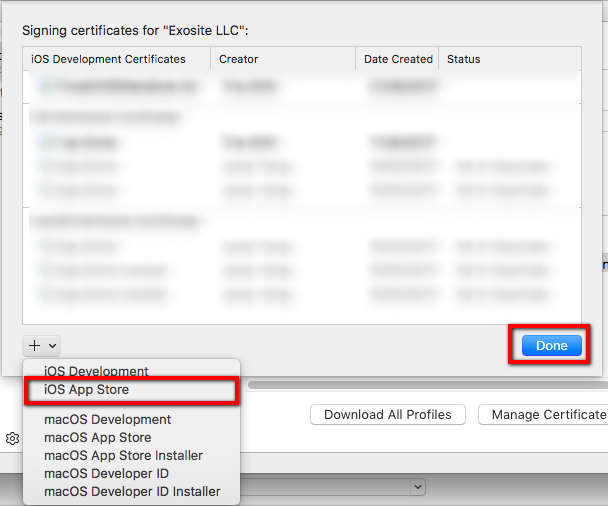
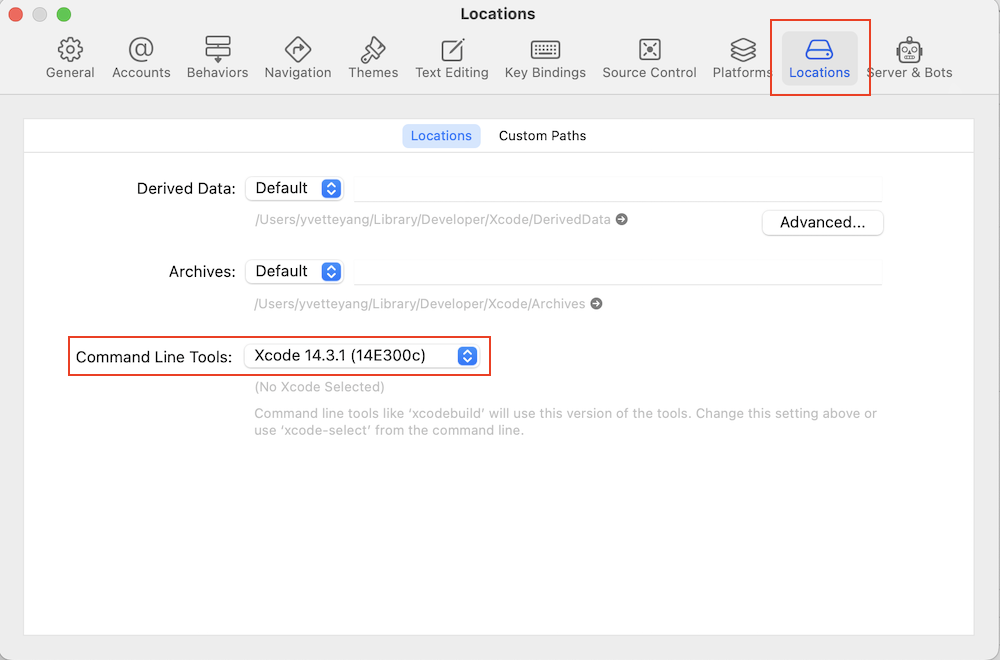
(3) Select Location and make sure the Command Line Tools is Xcode 16.3.
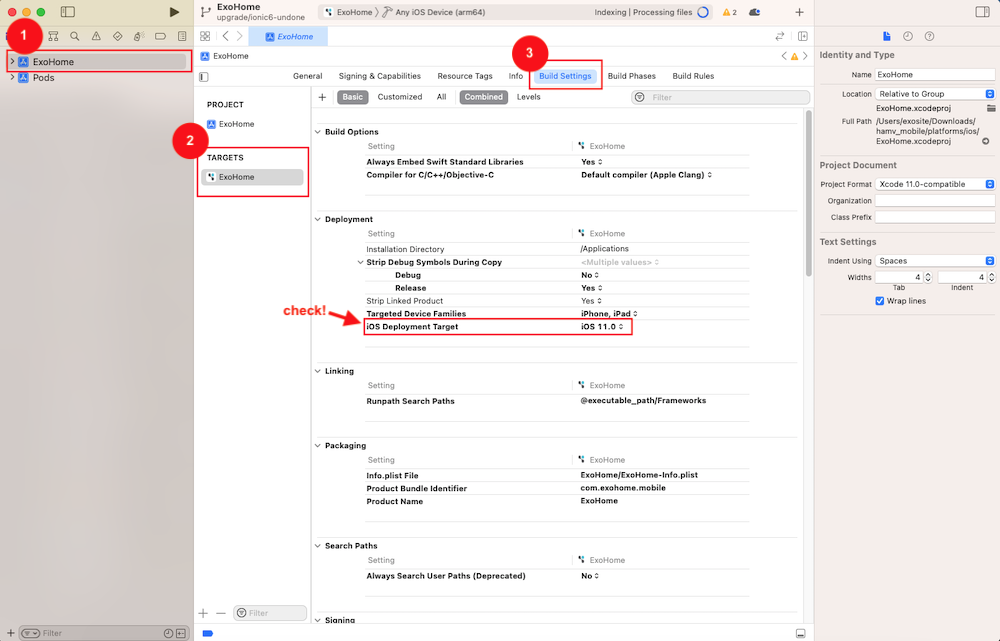
-
(Skip this step if you have applied your settings in
env.shfile) Go back to the project, check the following signings are correctly selected, the iOS target is iOS13.0 or above, and the device should show Any iOS Device.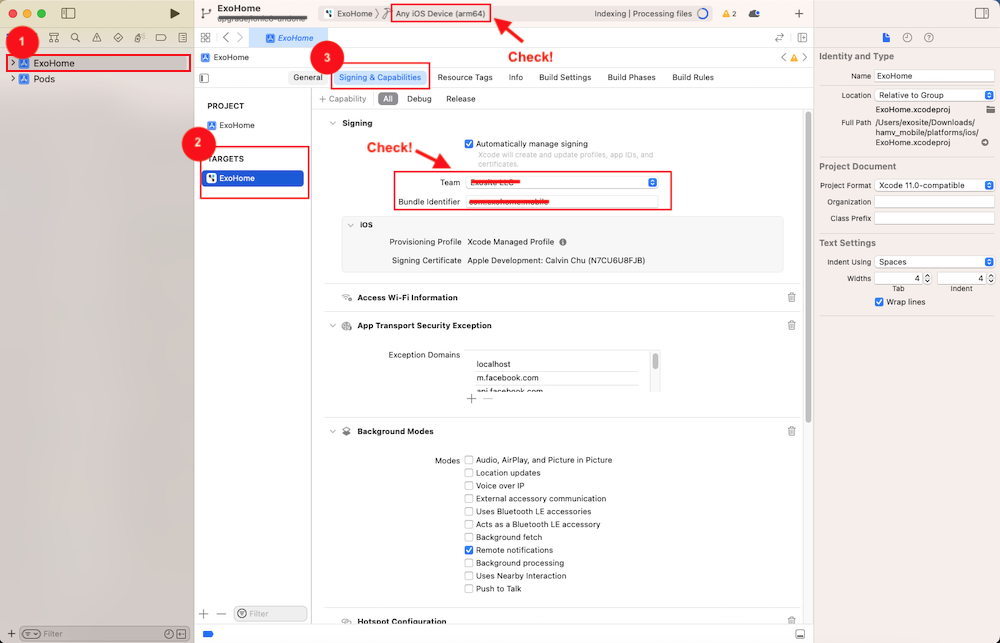
-
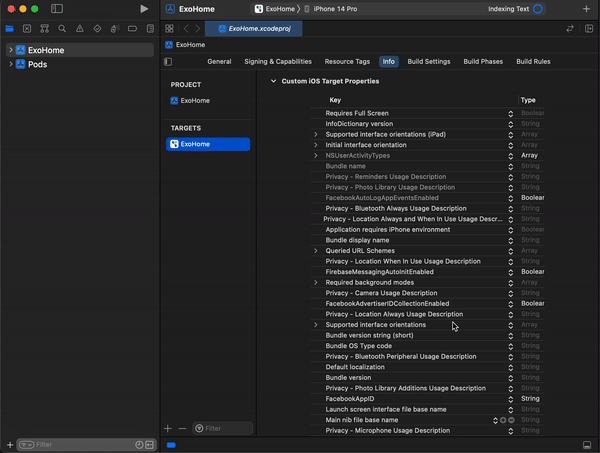
(Optional for Google signin setting, Skip this step if you have applied your settings in
env.shfile) Go toTargets→Infotab. Add aURL typeby usingGoogleService-Info.plistfile'sREVERSED_CLIENT_ID.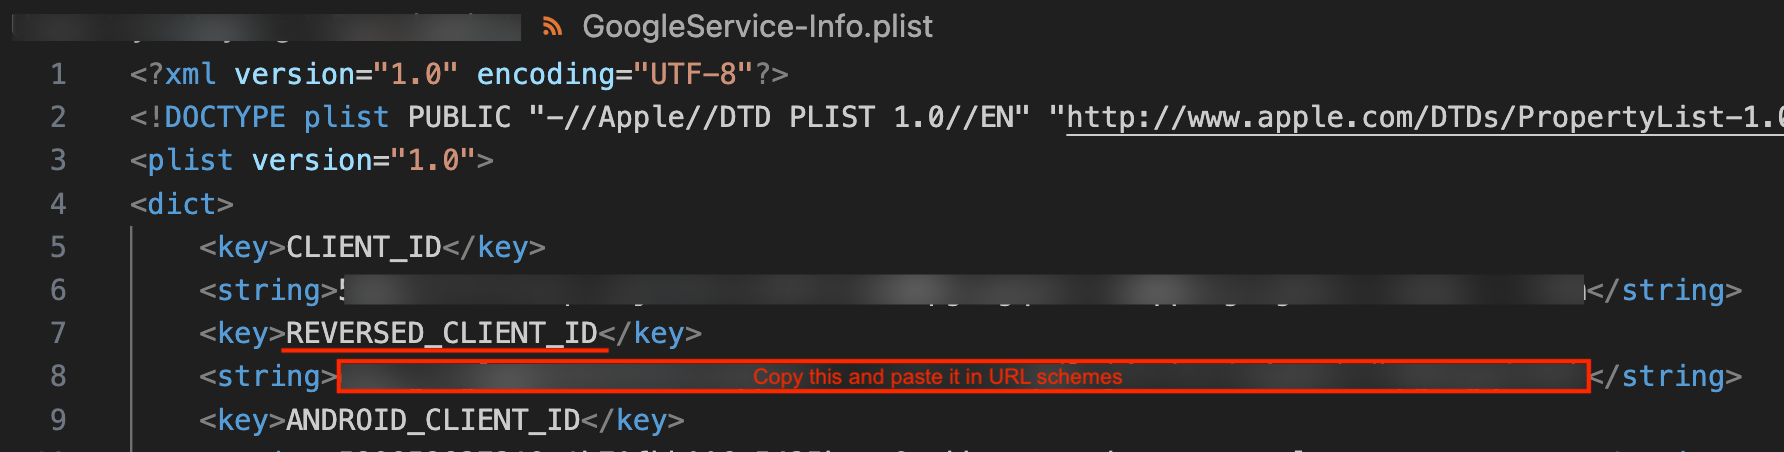
-
(Skip this step if you have applied your settings in
env.shfile) Go to Pods in the side menu and check the following items are with correct signing.- AppAuth-AppAuthCore_Privacy
- BoringSSL-GRPC-openssl_grpc
- FBSDKCoreKit-FacebookSDKStrings
- FirebaseABTesting-FirebaseABTesting_Privacy
- FirebaseCoreExtension-FirebaseCoreExtension_Privacy
- FirebaseCoreInternal-FirebaseCoreInternal_Privacy
- FirebaseFirestoreInternal-FirebaseFirestoreInternal_Privacy
- FirebaseInAppMessaging-InAppMessagingDisplayResources
- GoogleDataTransport-GoogleDataTransport_Privacy
- GoogleSignIn-GoogleSignIn
- GoogleUtilities-GoogleUtilities_Privacy
- gRPC-C++-gRPCCertificates-Cpp
- gRPC-C++-grpcpp
- gRPC-Core-grpc
- leveldb-library-leveldb_Privacy
- PromisesObjC-FBLPromises_Privacy
- PromisesSwift-Promises_Privacy
Note
You should still set the signing to avoid any errors, even if you do not use push notification, Facebook login or Google login.
-
(Skip this step if you have applied your settings in
env.shfile) Go to your project's folder, find Assets > Appicon, make sure the Appicon images of 60pt exist.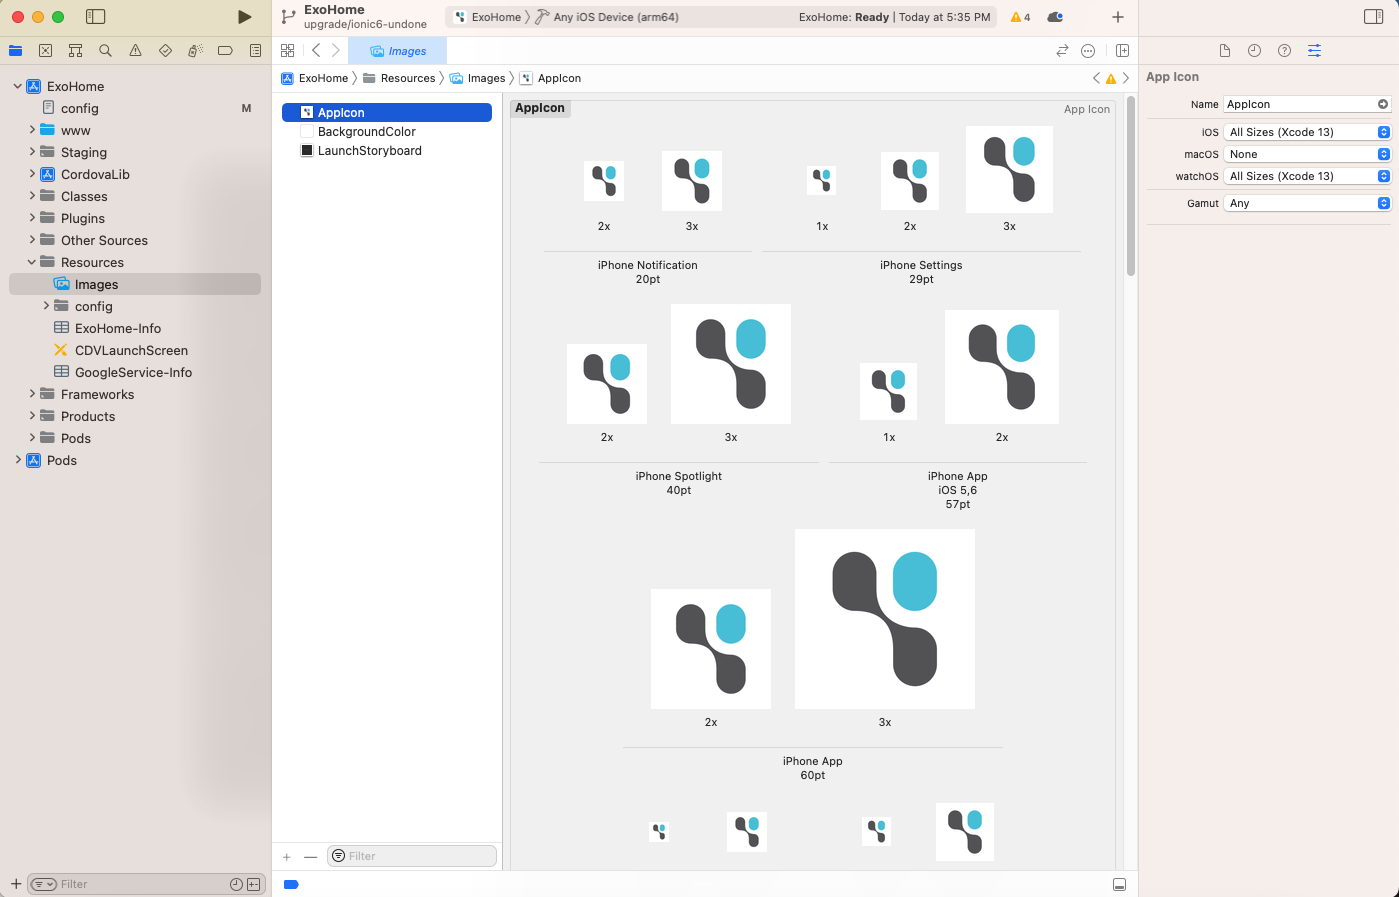
-
Run build
If you have applied your settings in
env.shfile, please run the following command:sh customer/hamv_mobile_ios.shOr, if you did not apply the
env.shfile but modified app configurations inpackage.json,config.xml, andapp.config.ts, you need to build the debug/release version by the following commands:Build debug version:
Build release version:ionic cordova build ios --prod --debug --verboseionic cordova build ios --prod --release --verbose
Note
If the build failed, please remove the build materials by using this command and repeat step 2 again.
```
rm -rf node_modules/ plugins/ platforms/ .angular/
```
Run App on iOS Devices for Testing
Steps
-
You should have installed the iOS simulator when setting up enviroment in the previous steps. If not, open your terminal and cd to the project rooot to run this command:
npm i -g ios-deploy ios-sim -
Open ".xcworkspace" in Xcode. The file should be under
/platforms/ios/.xcworkspace -
Connect your phone via USB and select it as the run target, as pictured below.

-
You can now run your app on your phone by clicking the play button. Make sure your device remains USB connected and unlocked.

Upload Build to App Store
Steps
-
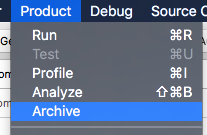
After build success, go back to Xcode project and click Product > Archive
-
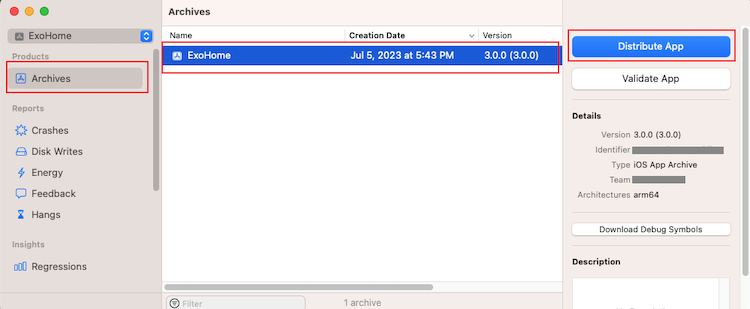
Select the archived file, and click Distribute App button.
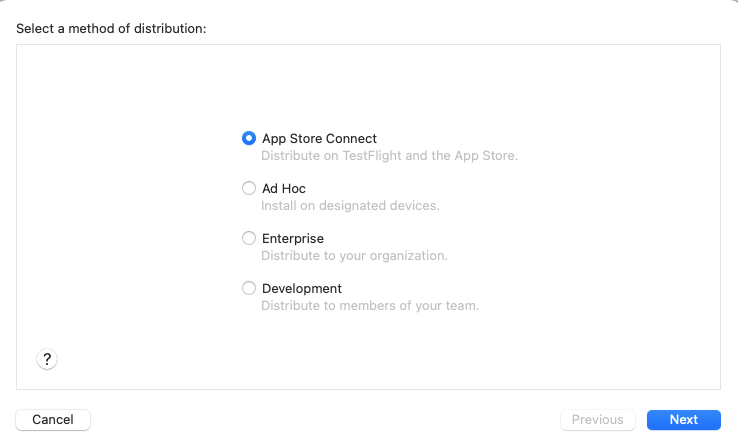
(1) Select App Store Connect and click Next.
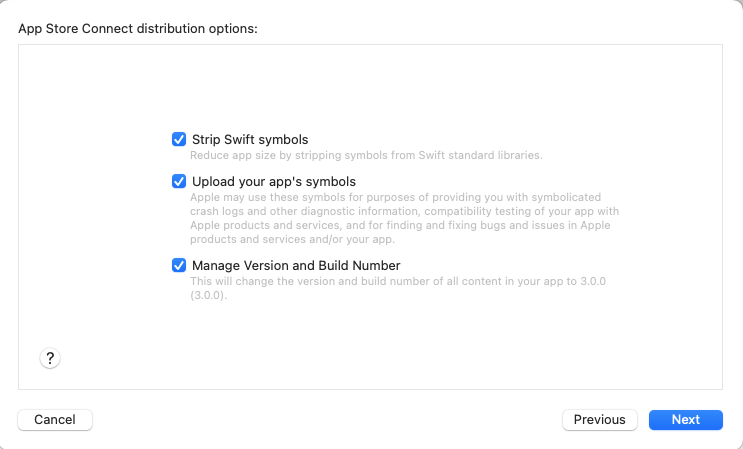
(2) Check the information and click Next.
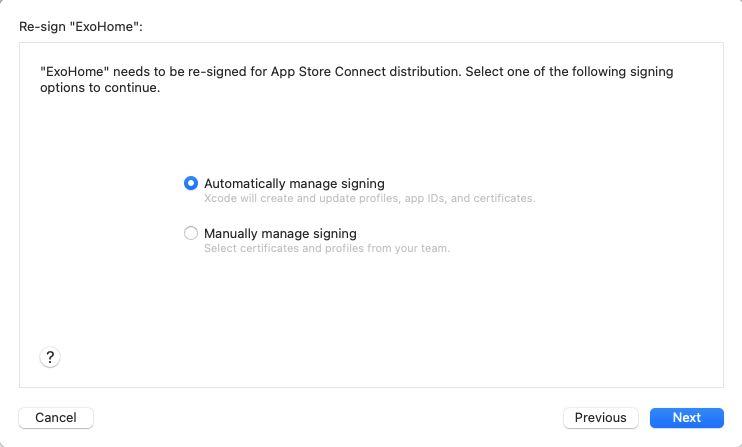
(3) Choos Automatically manage signing and click Next.
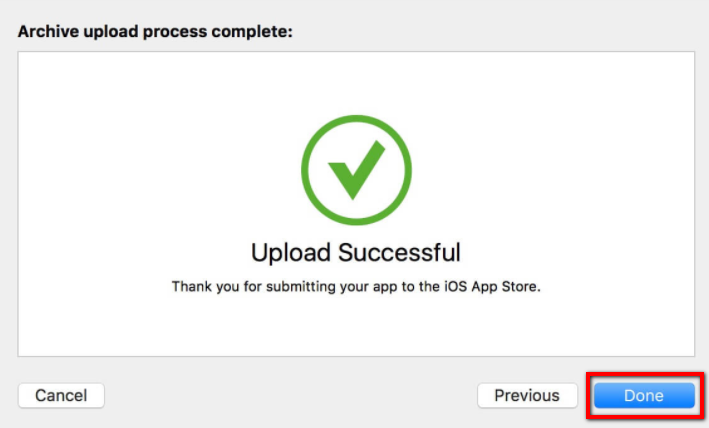
(4) Click the button Done after seeing Upload Successful
-
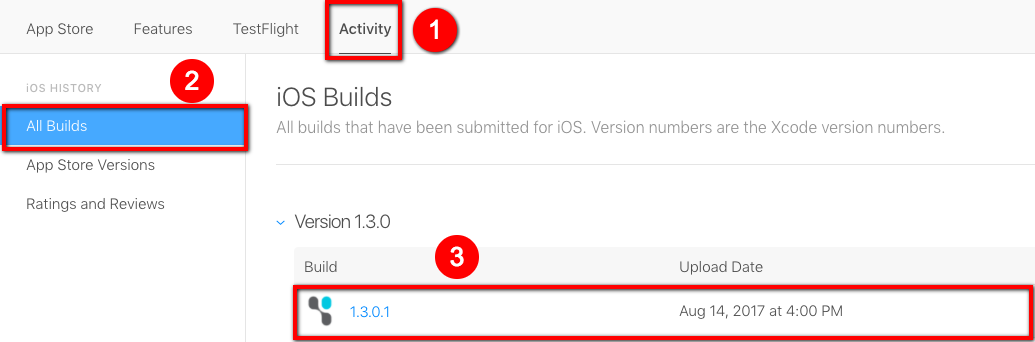
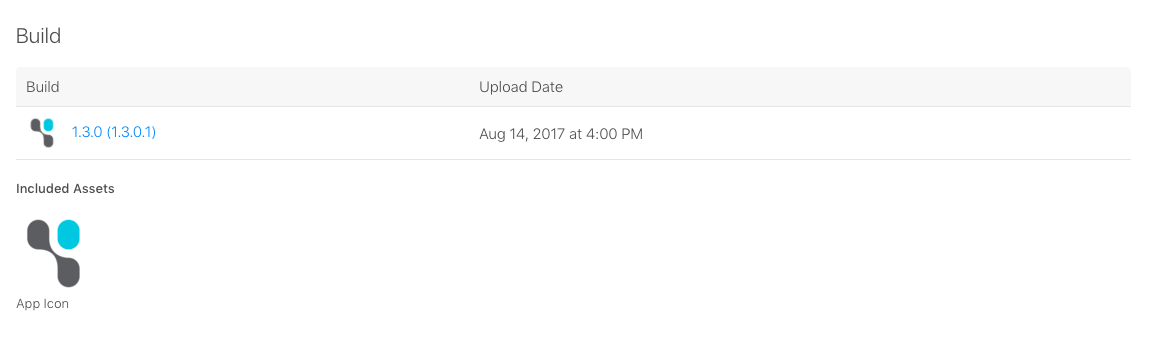
Go back to App Store Connect, select Activity tab, check if the build that you uploaded is already there
Note
If the status for the build is Processing, please wait for a while.
-
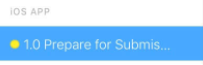
Click the tab "App Store", and click "Prepare for Submissions"
-
Upload your build file
Have more questions? Submit a request