Managing Information Models
Information models allow you to configure the control items and behaviors for your product models. By uploading information models to the cloud, you can make changes to your app's device UI without changing the app code.
In order to display correctly in the App, all the devices in your solution must have a correspsonding information model uploaded to the admin site. If there is any device connected to your solution without a supporting information model, the App may not render correctly.
Information Models under Admin
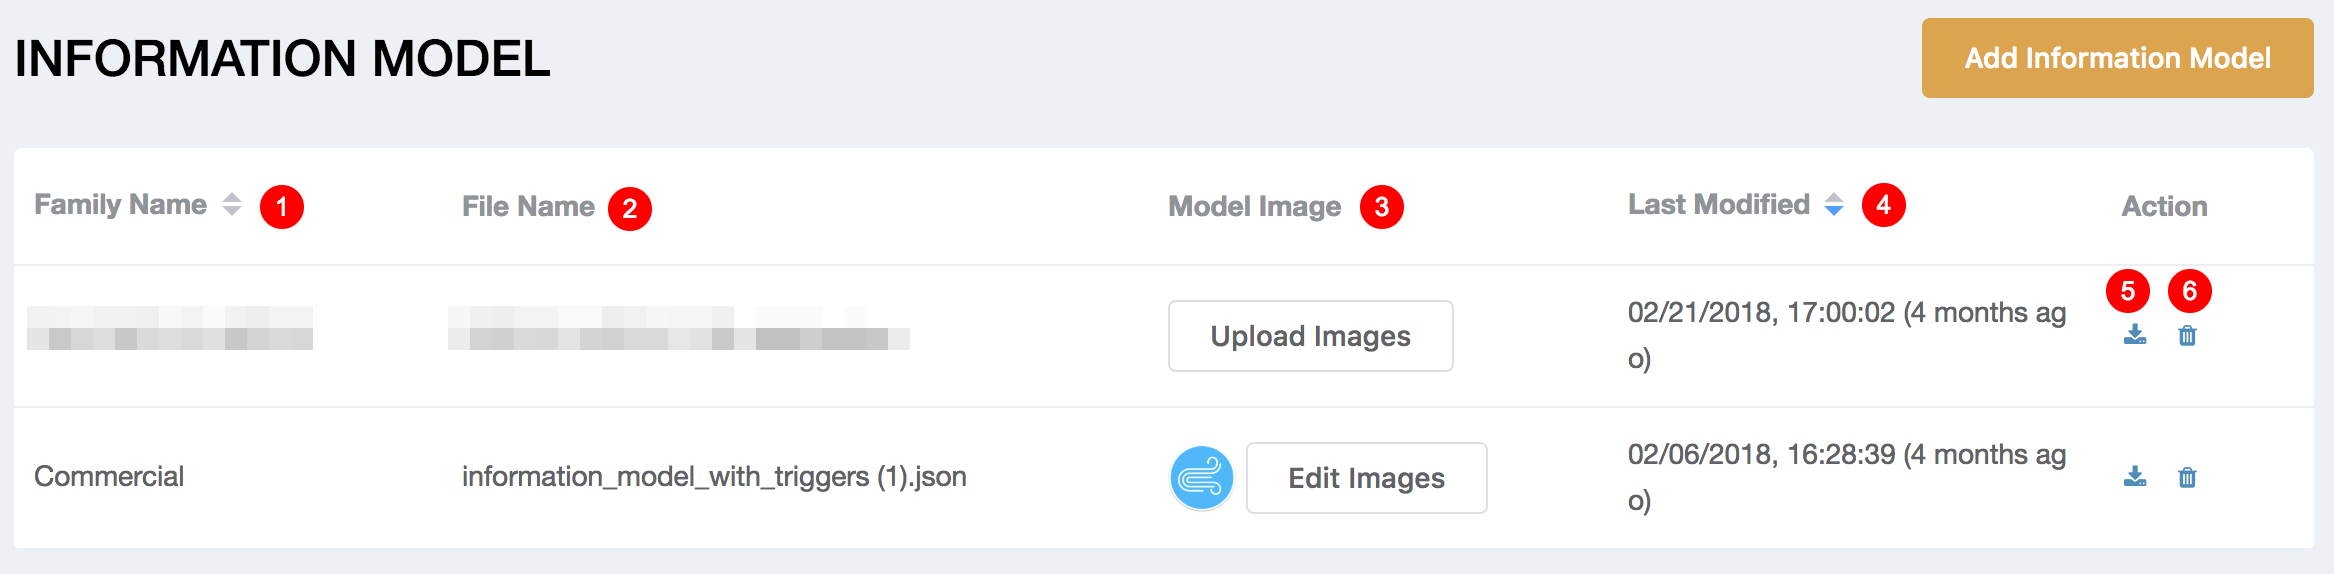
Choose an information model file you want to upload and click upload. Once the file is uploaded, you will see the related information displayed under the INFORMATION MODEL.
- Family Name: This represents the Family Name in the uploaded information model file.
- File Name: This is shown as the name of the uploaded information model file.
- Model Image: Click to upload/edit the banner/thumbnail images of the information model.
- Last Modified: This shows the date and time when the file was last uploaded.
- Download: Click to download the information model file.
- Delete: Click to delete the information model file.
Note
- When updating your information model, any currently open apps will need to close and reopen to download the latest settings.
- If no information model is uploaded to the admin site, the mobile app will read from its local storage.
- If two information models share the same "familyName", the most recent file will overwrite any prior ones.
- If you upload a yaml file, it will become json file when you download from the admin site.
Upload/Edit Information Model Images
Upload Information Model Images
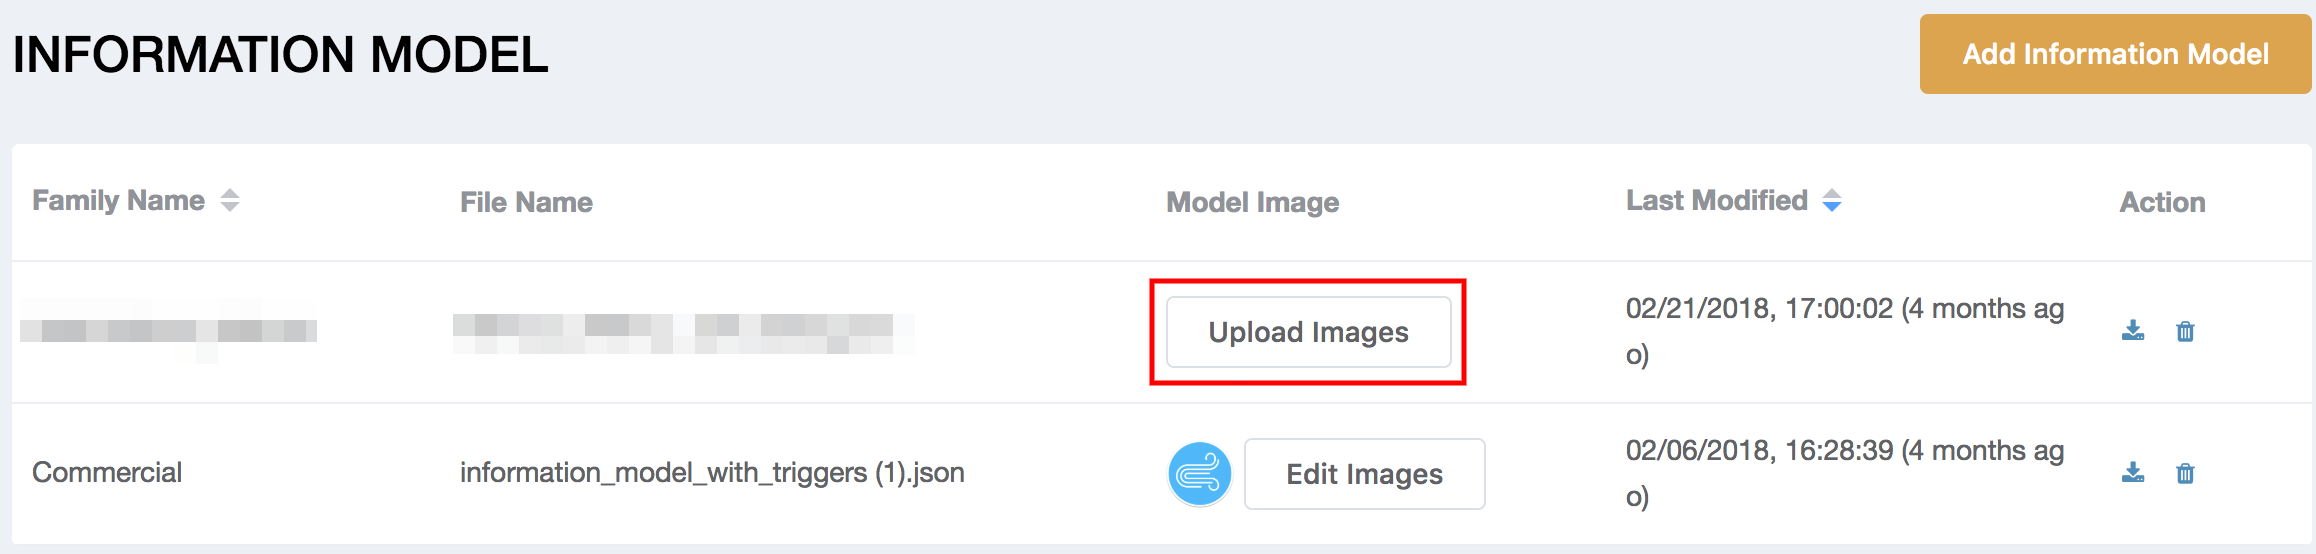
Click the "Upload Images" button and open the upload pop-up.
-
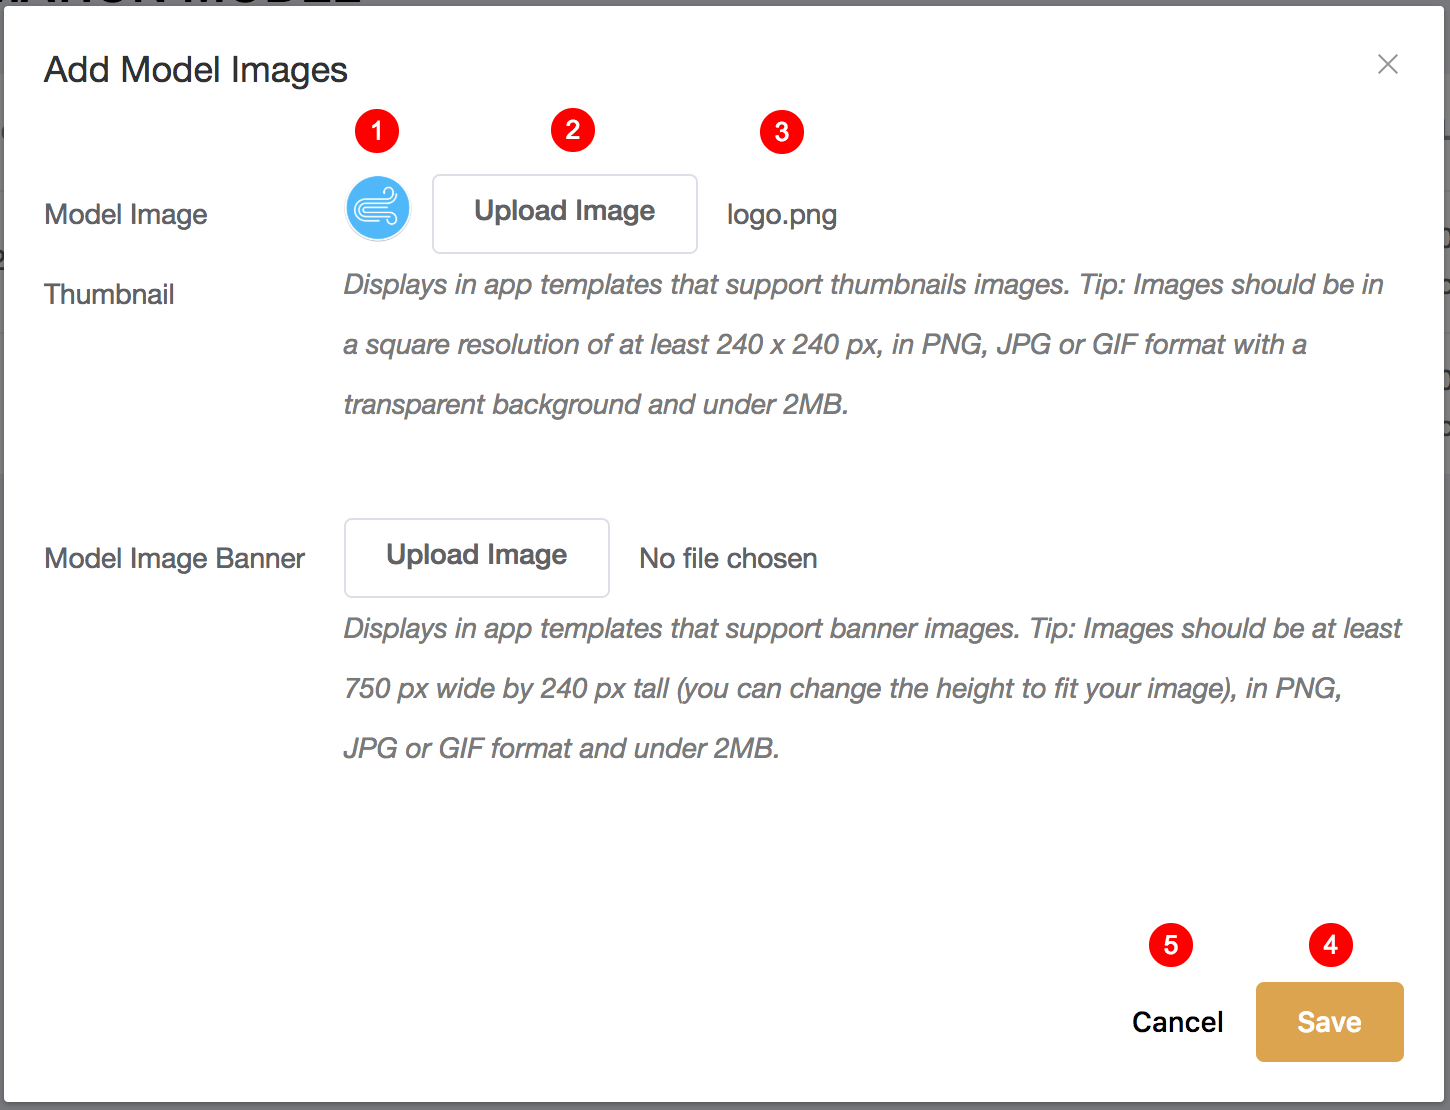
This is the image preview for the image you just uploaded.
-
Click "Upload Image" button to change the image that you want to upload.
-
This is the image file name that you just uploaded.
-
Click to save the settings that you just made.
-
Click to close the pop-up and discard all the changes.
Note
- Supported image formats include PNG, JPG, JPEG, GIF.
- The maximum file size for an image is 2MB.
- If there is an image uploaded to the admin site, the cloud will automatically update the URI section in information model.

Edit Information Model Images
-
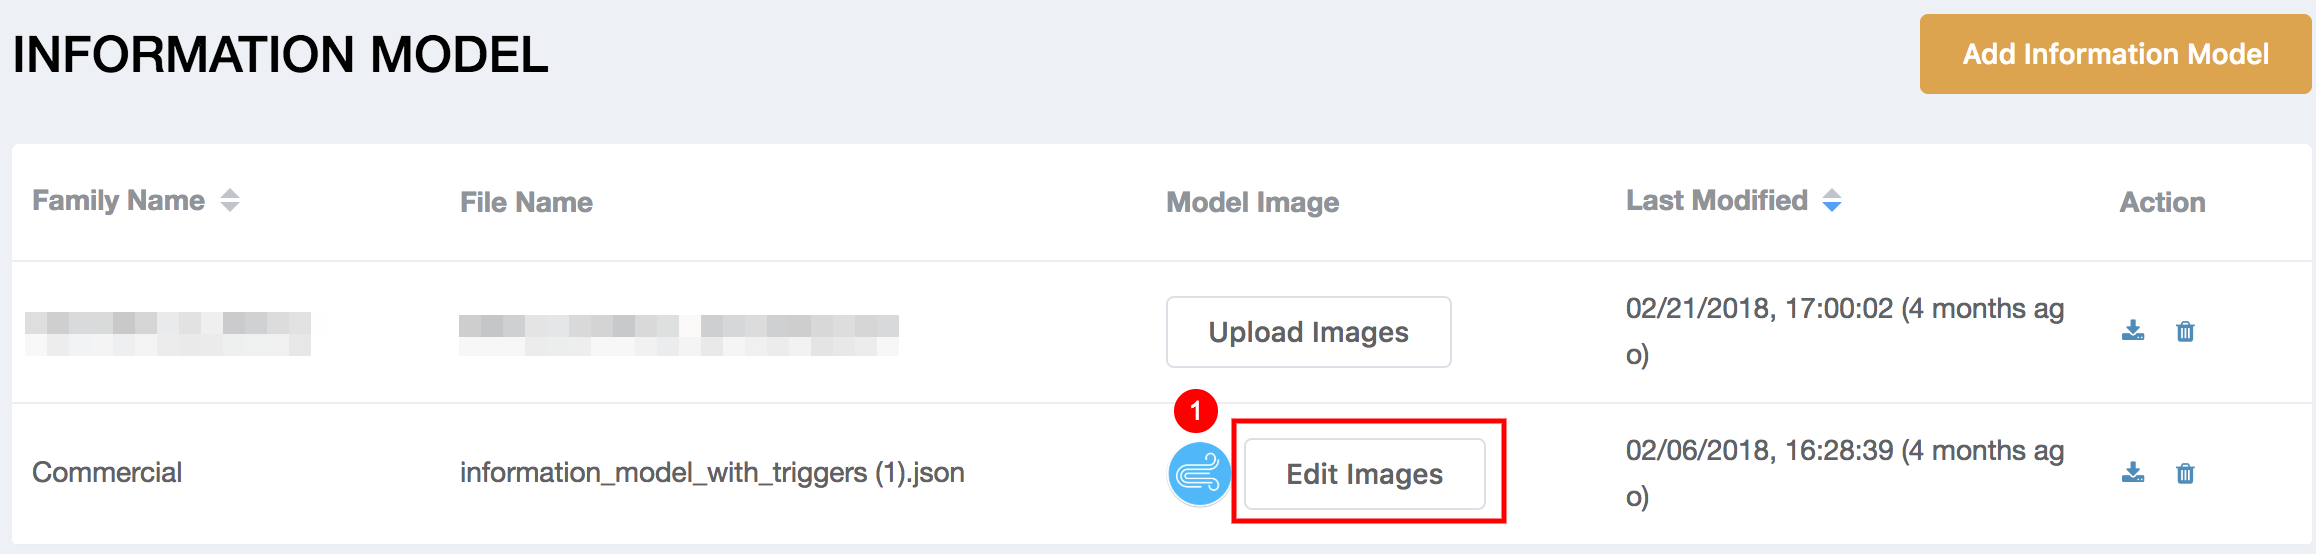
This shows the preview of the uploaded thumbnail image. If there is no thumbnail image uploaded, it will show the preview of the banner image. Click the "Edit Images" button and open the upload pop-up.
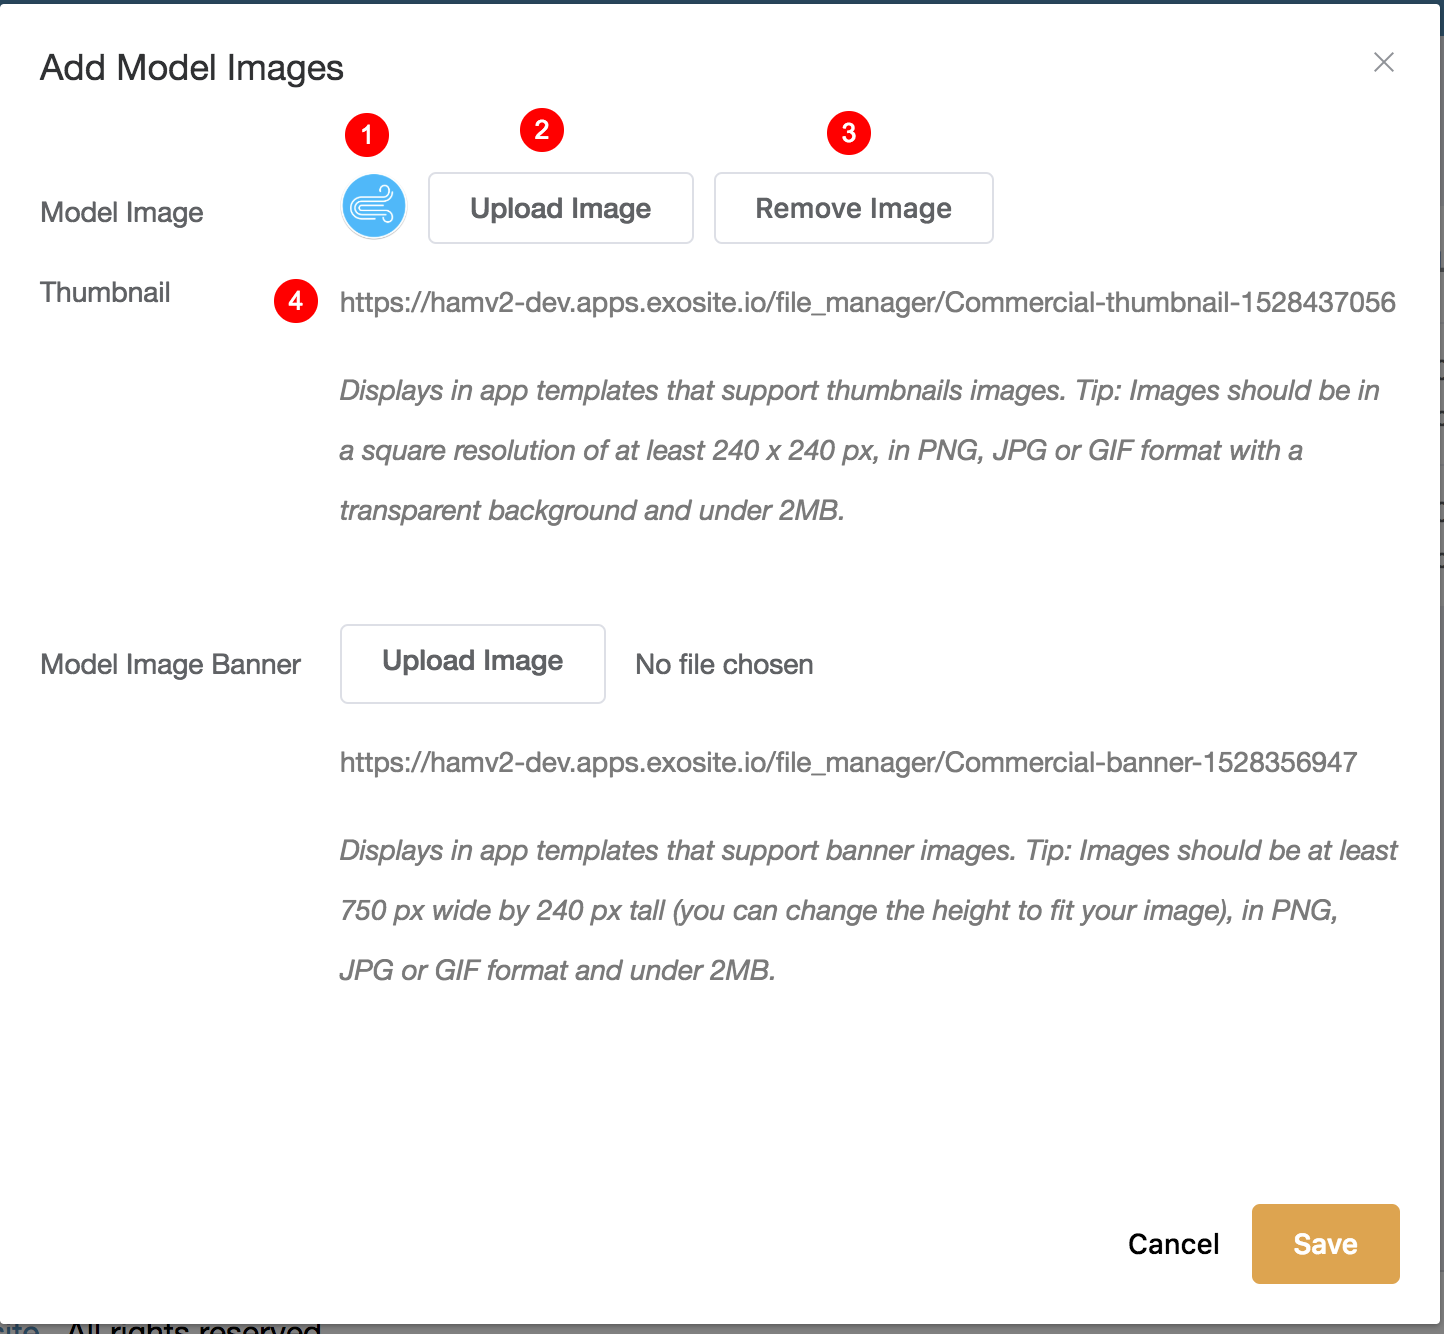
-
This is the preview of the uploaded image.
-
Click "Upload Image" button to upload new image.
-
Click "Remove Image" button to remove existing image.
-
This is the URI of the image. The URI will be shown after the image is saved successfully.
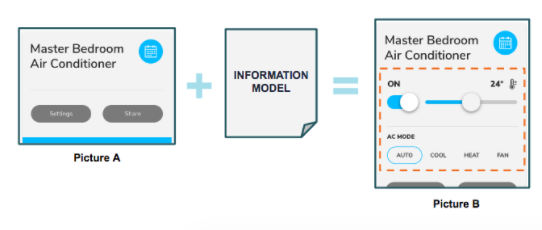
Information Model Overview
Before you define anything in the information model, the default UI will look like picture A, once the informational model is defined, it will become something like this interactive control panel you see on picture B. When the app runs, it will select the relevant information model config based on the device model ID for a device and generate UI for your app.
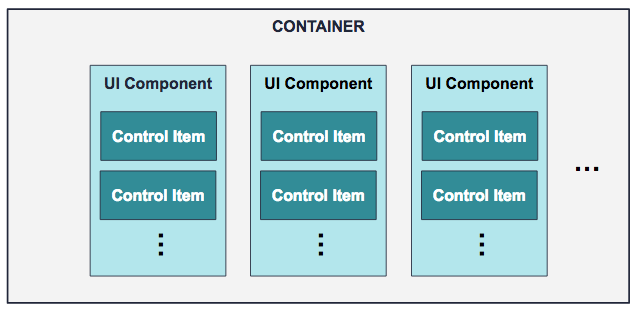
You can see the structure for the information model as below. At the beginning it’s an empty container, then we add custom UI components based on display order and describe their controlling behavior. Some examples of UI components we offer are: toggle, button group, toggle with range bar and so on. And you will define how your device state is shown and what value to send when you interact with the control item.
For more details about information model, you can refer to Information Model in the app section.
Have more questions? Submit a request